
 English
 Русский
 Deutsch
 Suomi
Suomi Français
 Italiano
 日本語
日本語 Nederlands
 Português
 Türkçe
 中文
中文 عربي
عربي Tagalog
 اردو
اردو Gaeilge
 বাংলা
বাংলা Magyar
 Polski
 Čeština
 Български
 Bahasa Indonesia
 한국어
한국어 Română
 Svenska
Manual en línea para Mac
- Cómo descargar e instalar Spyrix Keylogger para Mac
- Cómo activar la supervisión
- Cómo registrar la licencia
- Teclas de acceso rápido para cambiar el programa del modo oculto
- Envío de registros
- ¿Cómo desinstalar el programa?
- Preguntas frecuentes
Para instalar y configurar Spyrix, es preferible que disponga de:
- Acceso físico al Mac y contraseña de una cuenta controlada;
- Tiempo, aproximadamente 1 hora de media, para montarlo todo sin prisas;
- Una cuenta de administrador para instalar software para todos los usuarios;
- Licencia adquirida para Spyrix (la versión de prueba tiene una funcionalidad limitada en el tiempo);
- Conexión a Internet para activar la licencia de Spyrix;
- Opcional: Ningún software antivirus que pueda marcar Spyrix como aplicación potencialmente no deseada. Si tiene un antivirus instalado en el equipo, desactívelo mientras se instala Spyrix;
- Nota: El soporte de Spyrix es sólo por correo electrónico.
Nota importante: El programa debe instalarse sólo en el ordenador que desea supervisar.
1. Cómo descargar e instalar Spyrix Keylogger para Mac
1) Vaya a Spyrix Keylogger para Mac y haga clic en el botón verde "Descargar" para descargar el archivo de instalación.
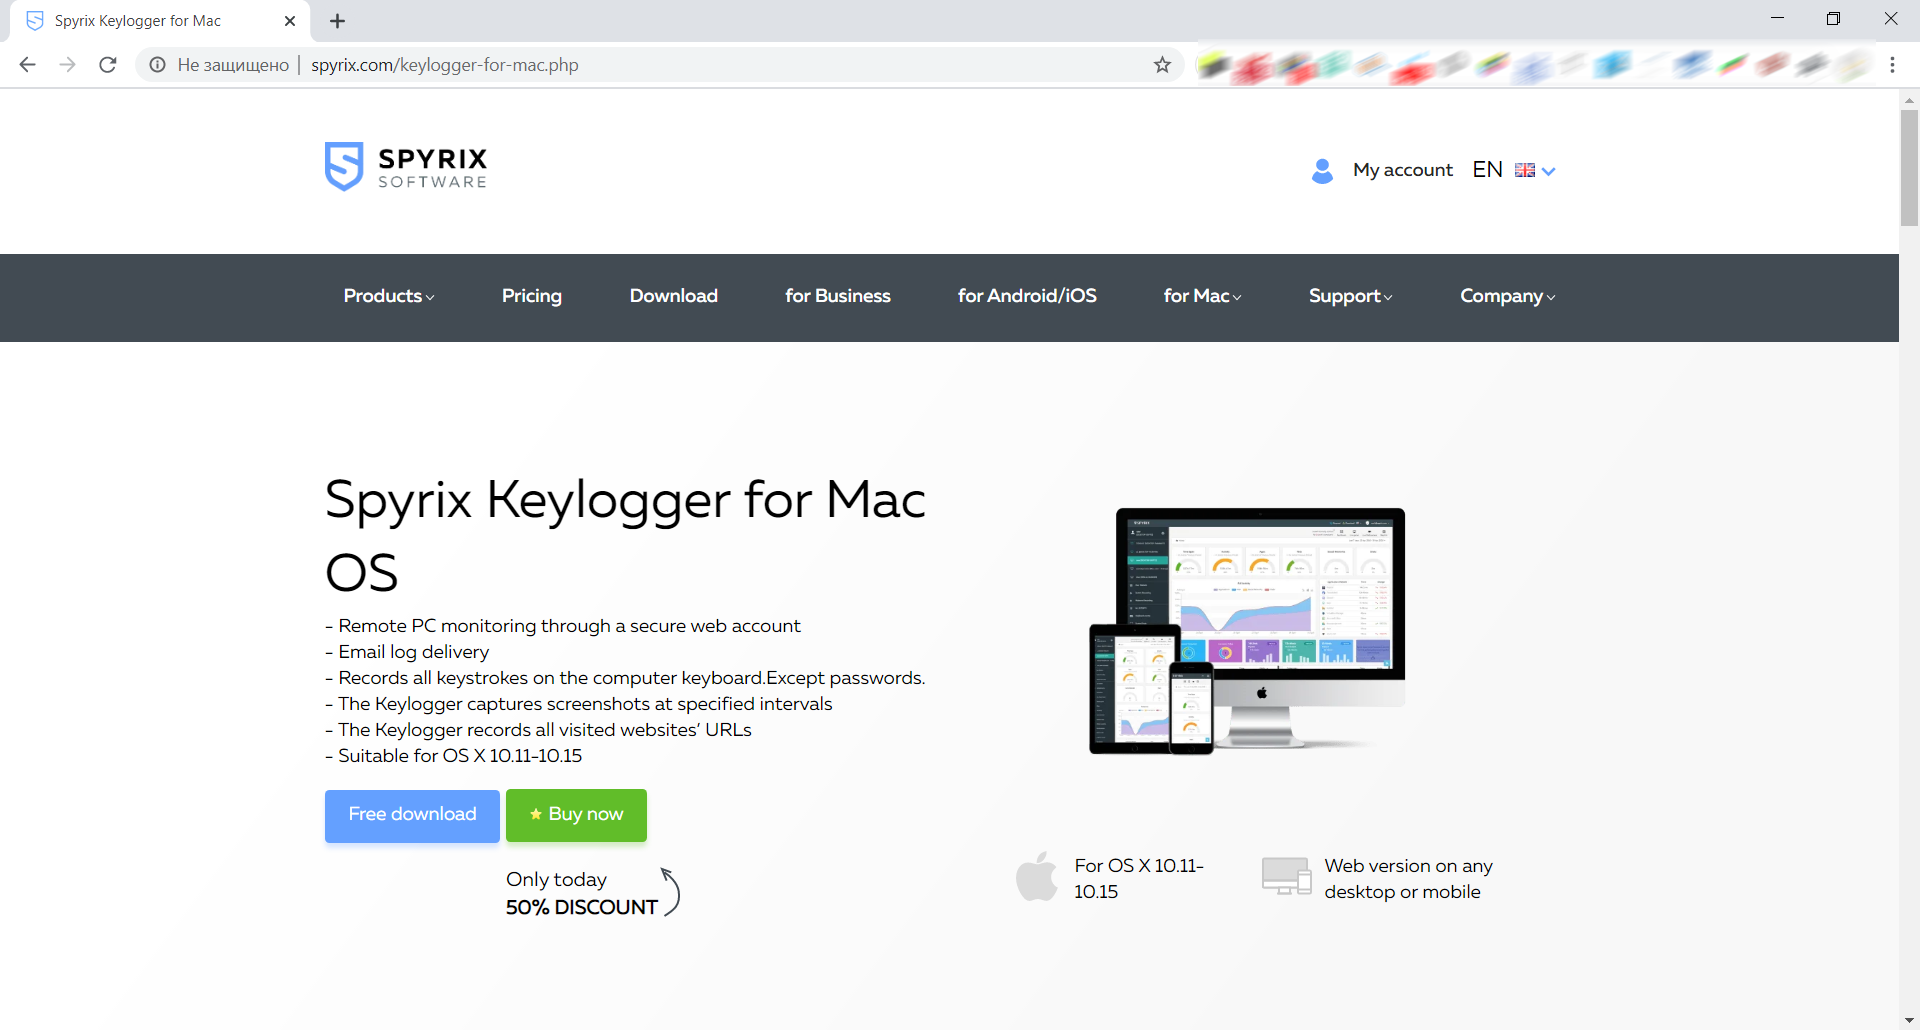
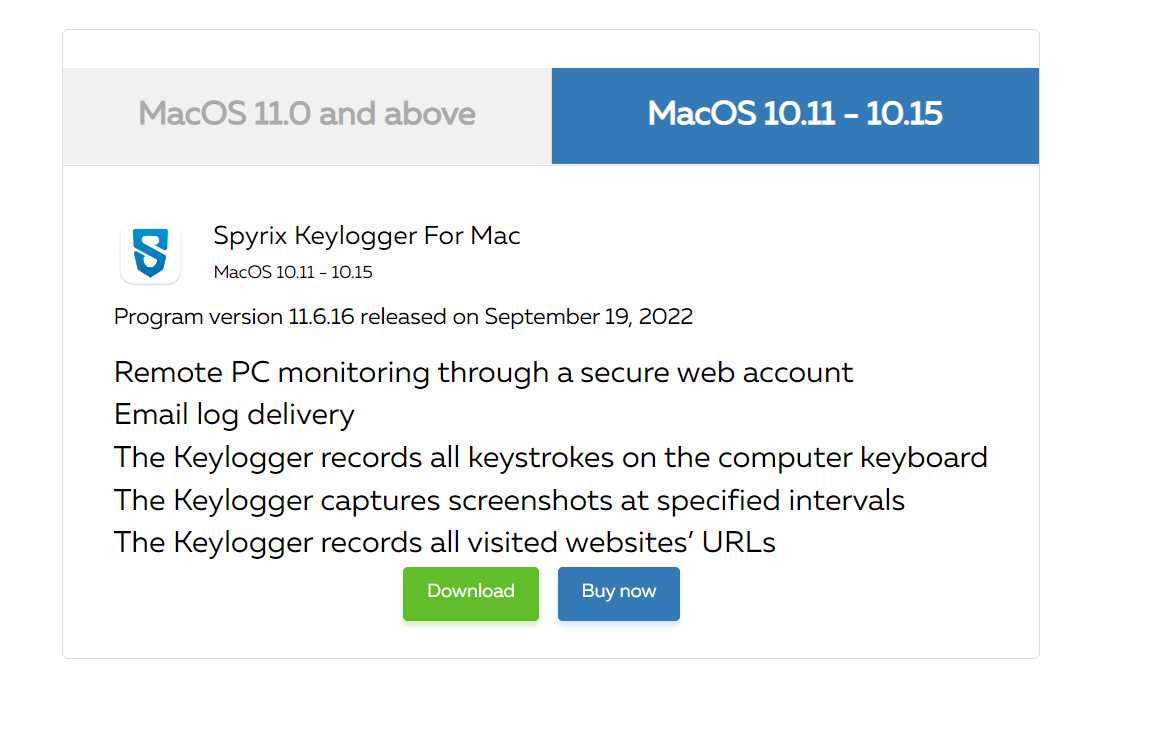
2) Preste atención a su versión de macOS, ya que el programa Spyrix tiene 2 versiones diferentes para la compatibilidad con macOS 10.11 - 10.15 y macOS 11.0 y superior
3) Ve al Finder->Descargas y encuentra el archivo allí. El nombre del archivo es sk_mac.mpkg.zip.
4) Haga doble clic en el archivo descargado para descomprimirlo y obtener el instalador. El nombre del instalador es Spyrix Keylogger para Mac 12.8.mpkg donde 12.8 es el número de la versión actual del programa.

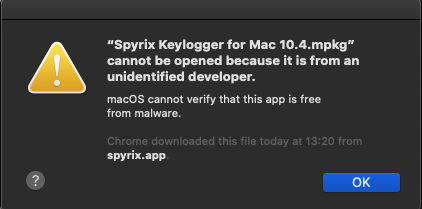
5) Haga clic con el botón derecho del ratón en el instalador y seleccione "Abrir" en el menú.

Nota Importante: si intenta abrir el instalador haciendo doble clic en él, podría obtener el error: "Spyrix Keylogger para Mac" no se puede abrir porque es de un desarrollador no identificado". Si obtiene el error, abra el archivo como se explica más arriba.
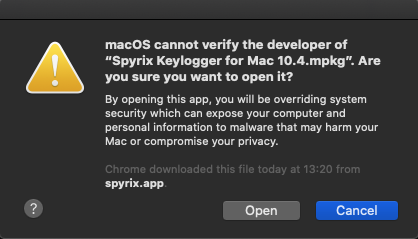
6) Haga clic en "Abrir" cuando se lo pida el sistema.
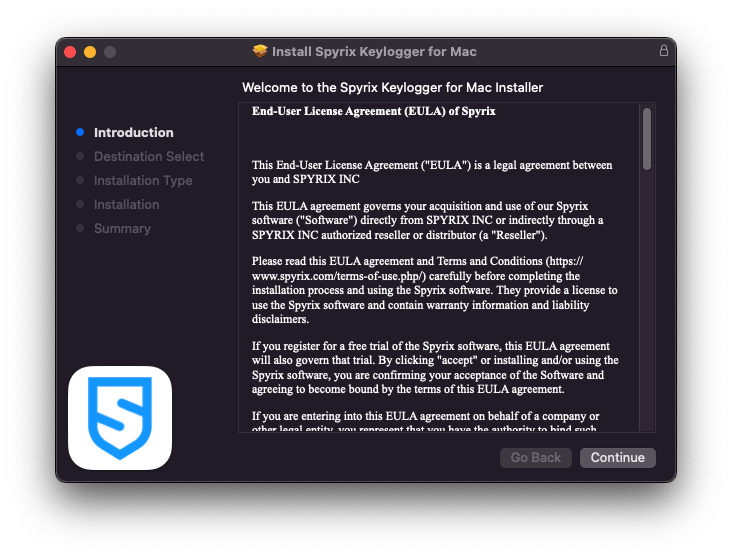
7) Lea el descargo de responsabilidad y haga clic en "Continuar" para confirmar que lo ha entendido.
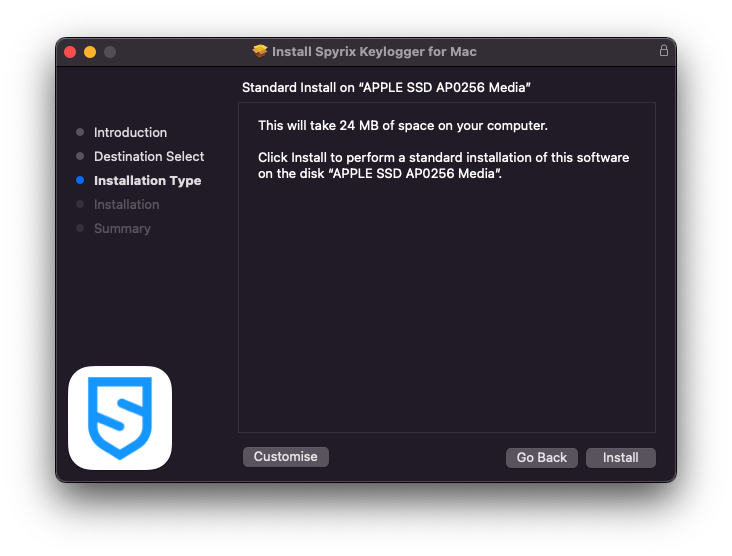
8) Haga clic en "Instalar".
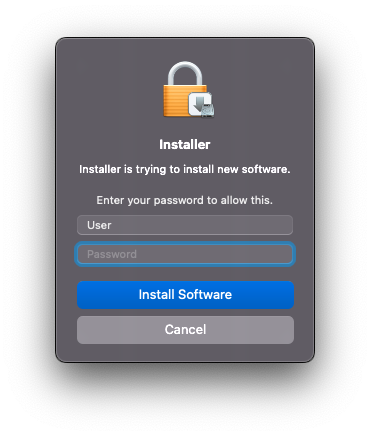
9) Introduzca su contraseña de administrador cuando se lo pida el sistema. La contraseña de administrador es necesaria para la instalación.
10) Cuando termine la instalación, verá esta ventana:

Ahora puede eliminar el instalador de Descargas.
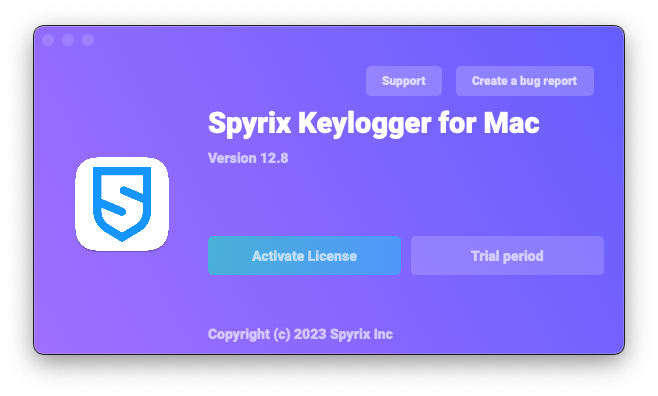
11) A continuación, verás la pantalla "Acerca de". Para iniciar una prueba de 5 días, haga clic en "Activar prueba". Si ya ha comprado la licencia, haga clic en "Activar licencia" e introduzca allí su código de licencia.
12) Ahora verá el Asistente que le ayudará a configurar el programa.
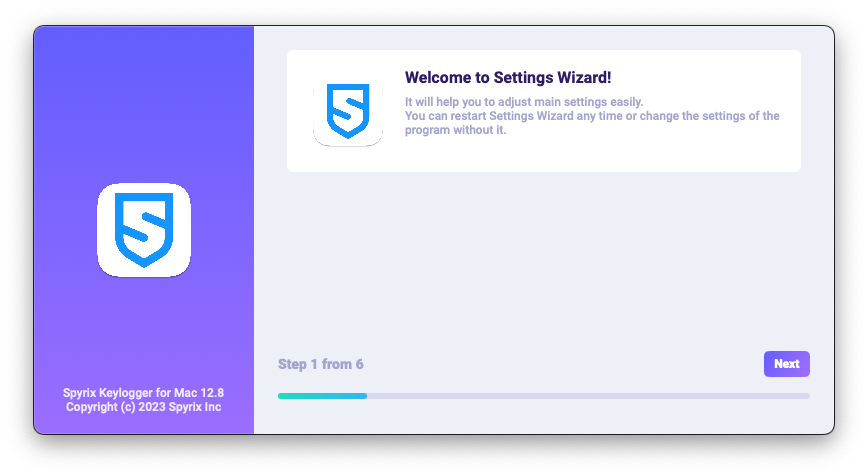
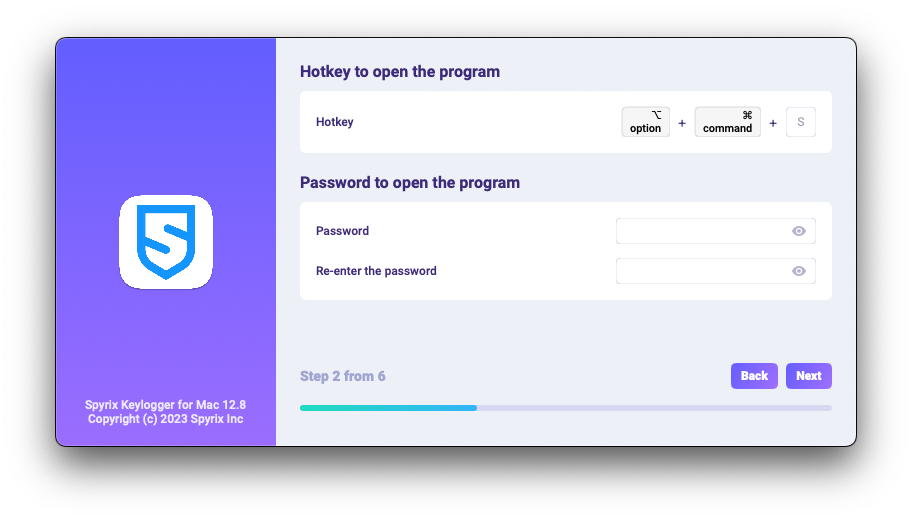
-
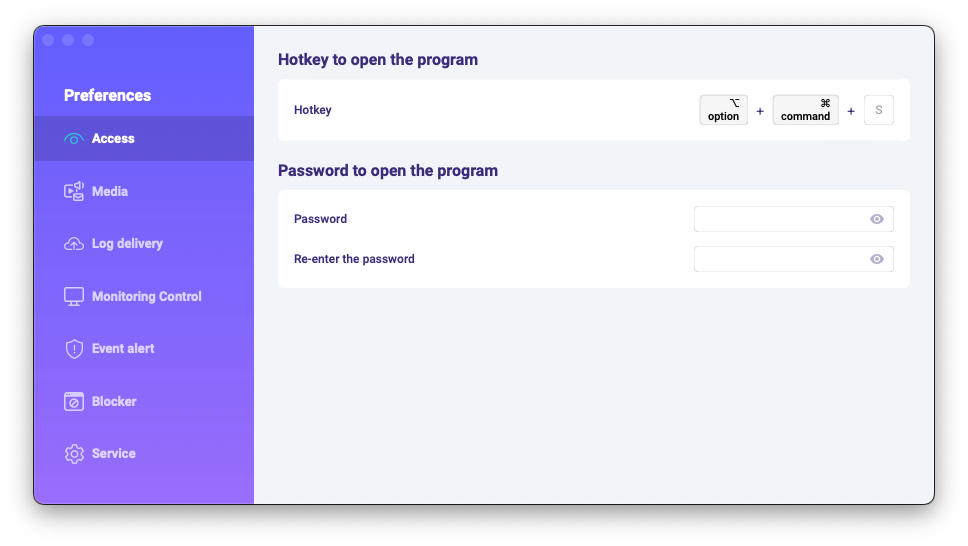
Aquí puede cambiar las teclas de acceso rápido predeterminadas para abrir el programa, si es necesario. En "Contraseña", puede establecer la contraseña para abrir el programa si es necesario. Si deja el campo vacío o vuelve a introducir la contraseña incorrectamente, no se establecerá y el programa se abrirá sin la contraseña. Nota importante: ¡No olvides esta contraseña! No podrás acceder a la aplicación sin ella. Anótala en algún lugar seguro.
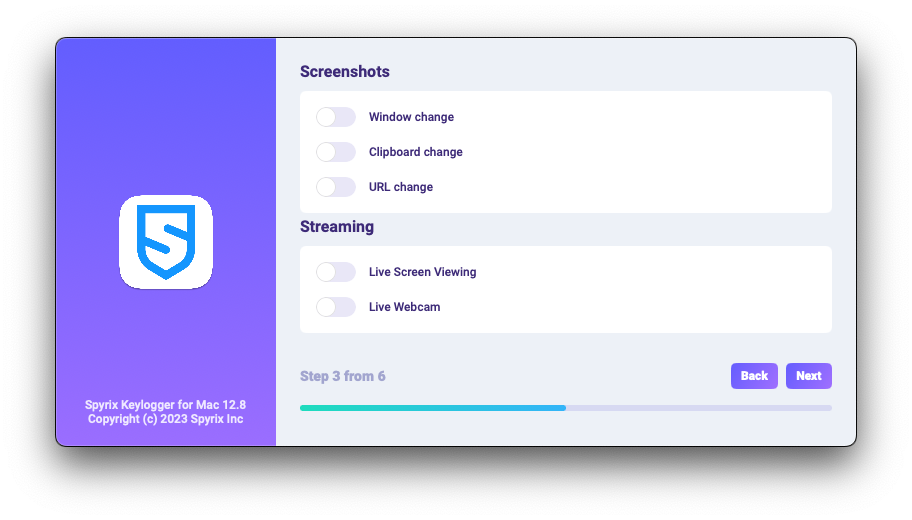
-
*En "Medios", puedes establecer preferencias para las capturas de pantalla, la webcam en directo y la visualización en directo de la pantalla.
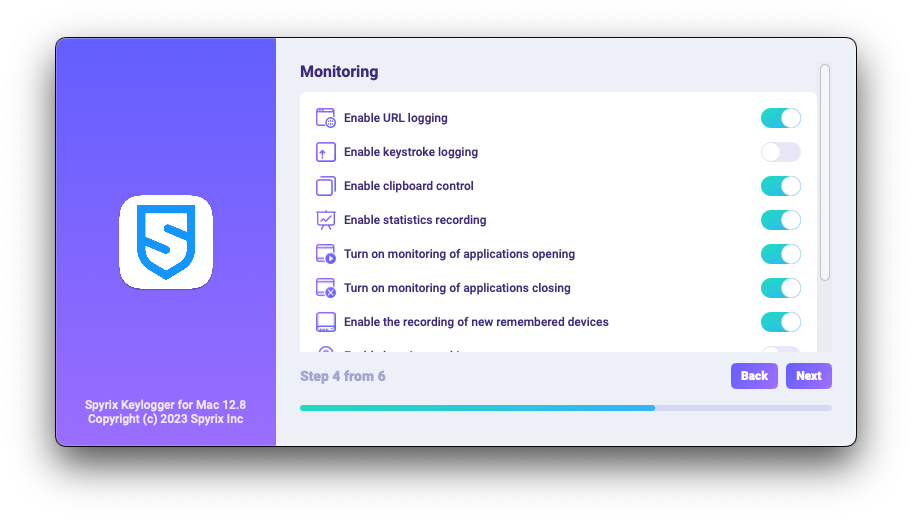
-
*En "Control de supervisión", puede activar o desactivar la supervisión de los sitios web visitados, la actividad de los programas, el portapapeles y el seguimiento de las pulsaciones del teclado.
-
Con el último paso de configuración, puede activar el modo oculto del programa y su inicio automático al iniciar sesión.

-
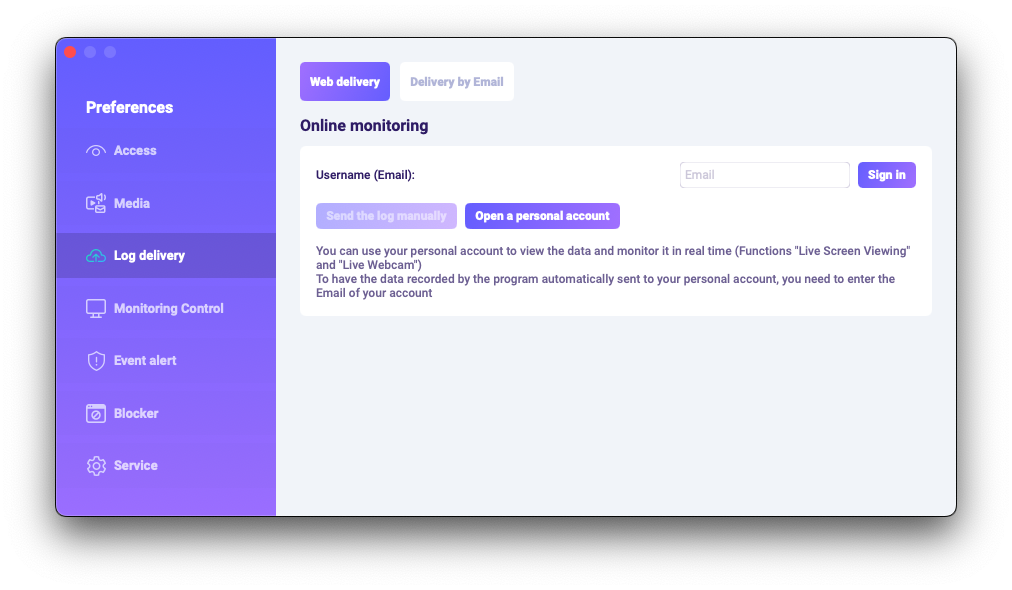
Introduzca el correo electrónico asociado a su cuenta Spyrix y haga clic en el botón "Iniciar sesión".
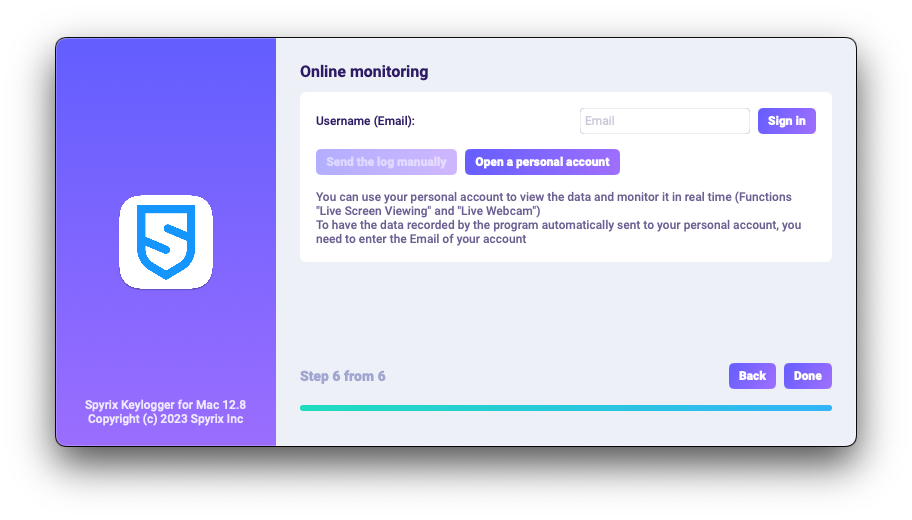
-
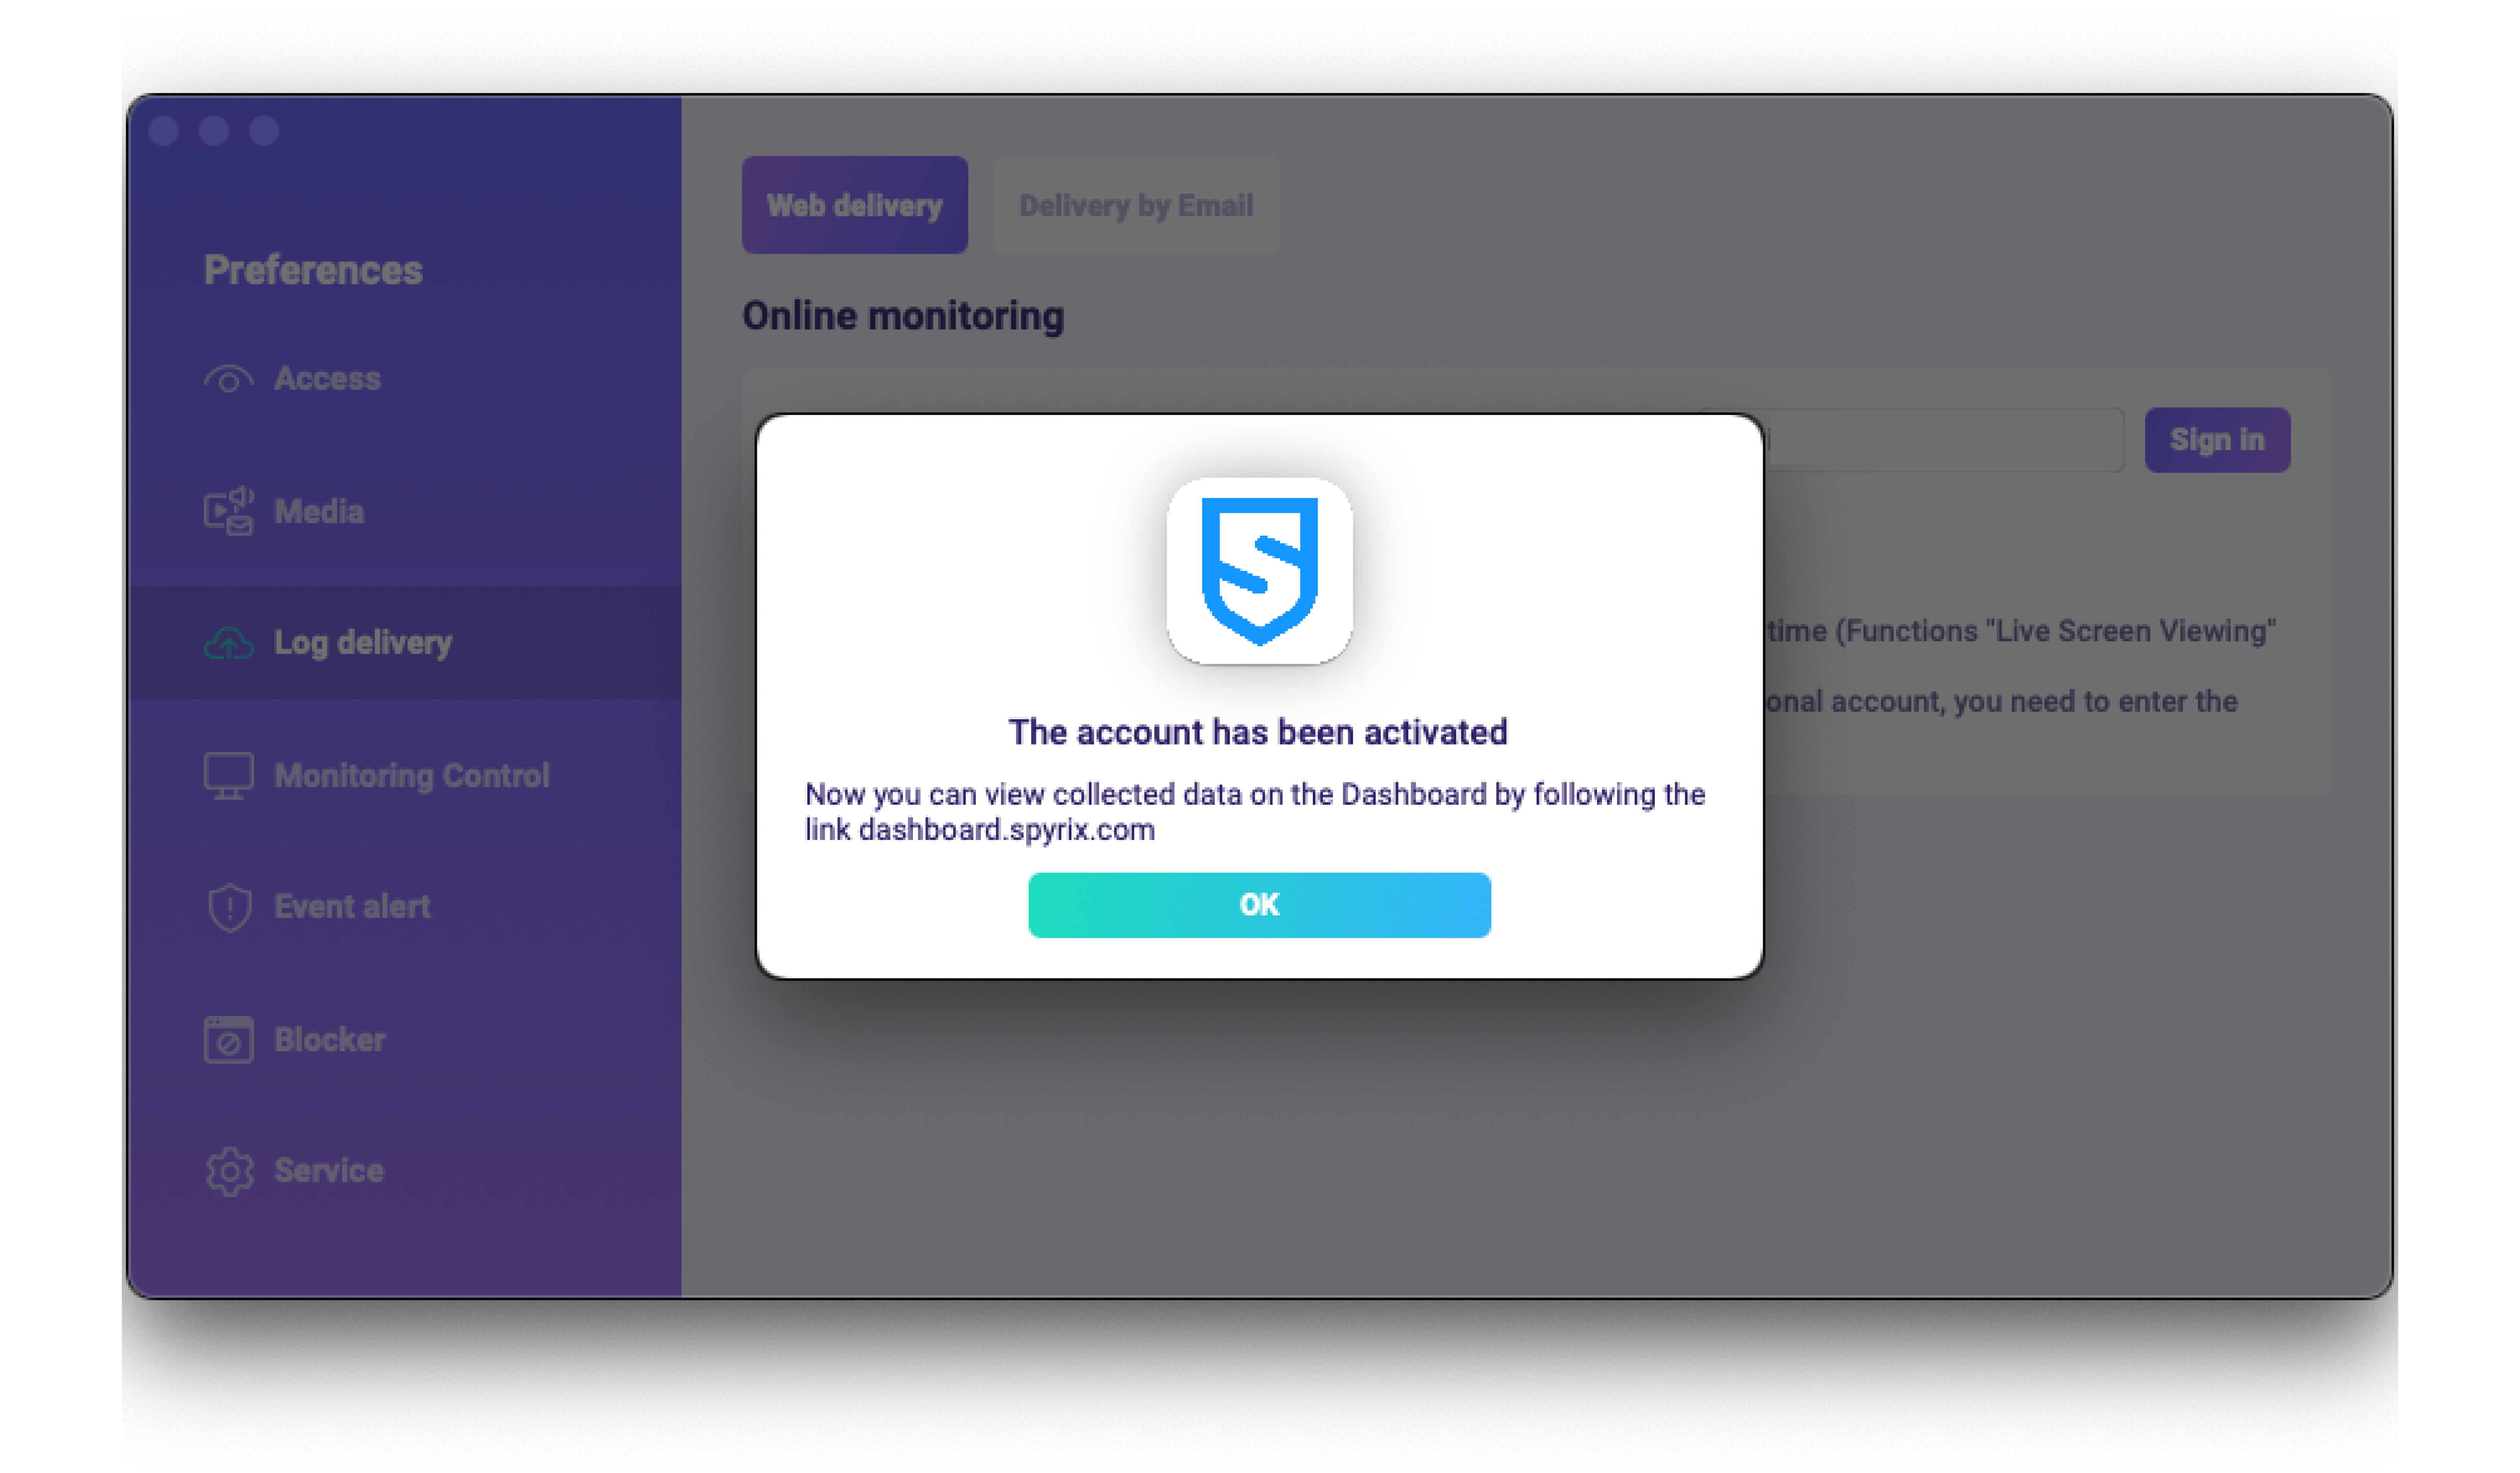
Si ha registrado previamente una cuenta para Spyrix, verá el siguiente mensaje.
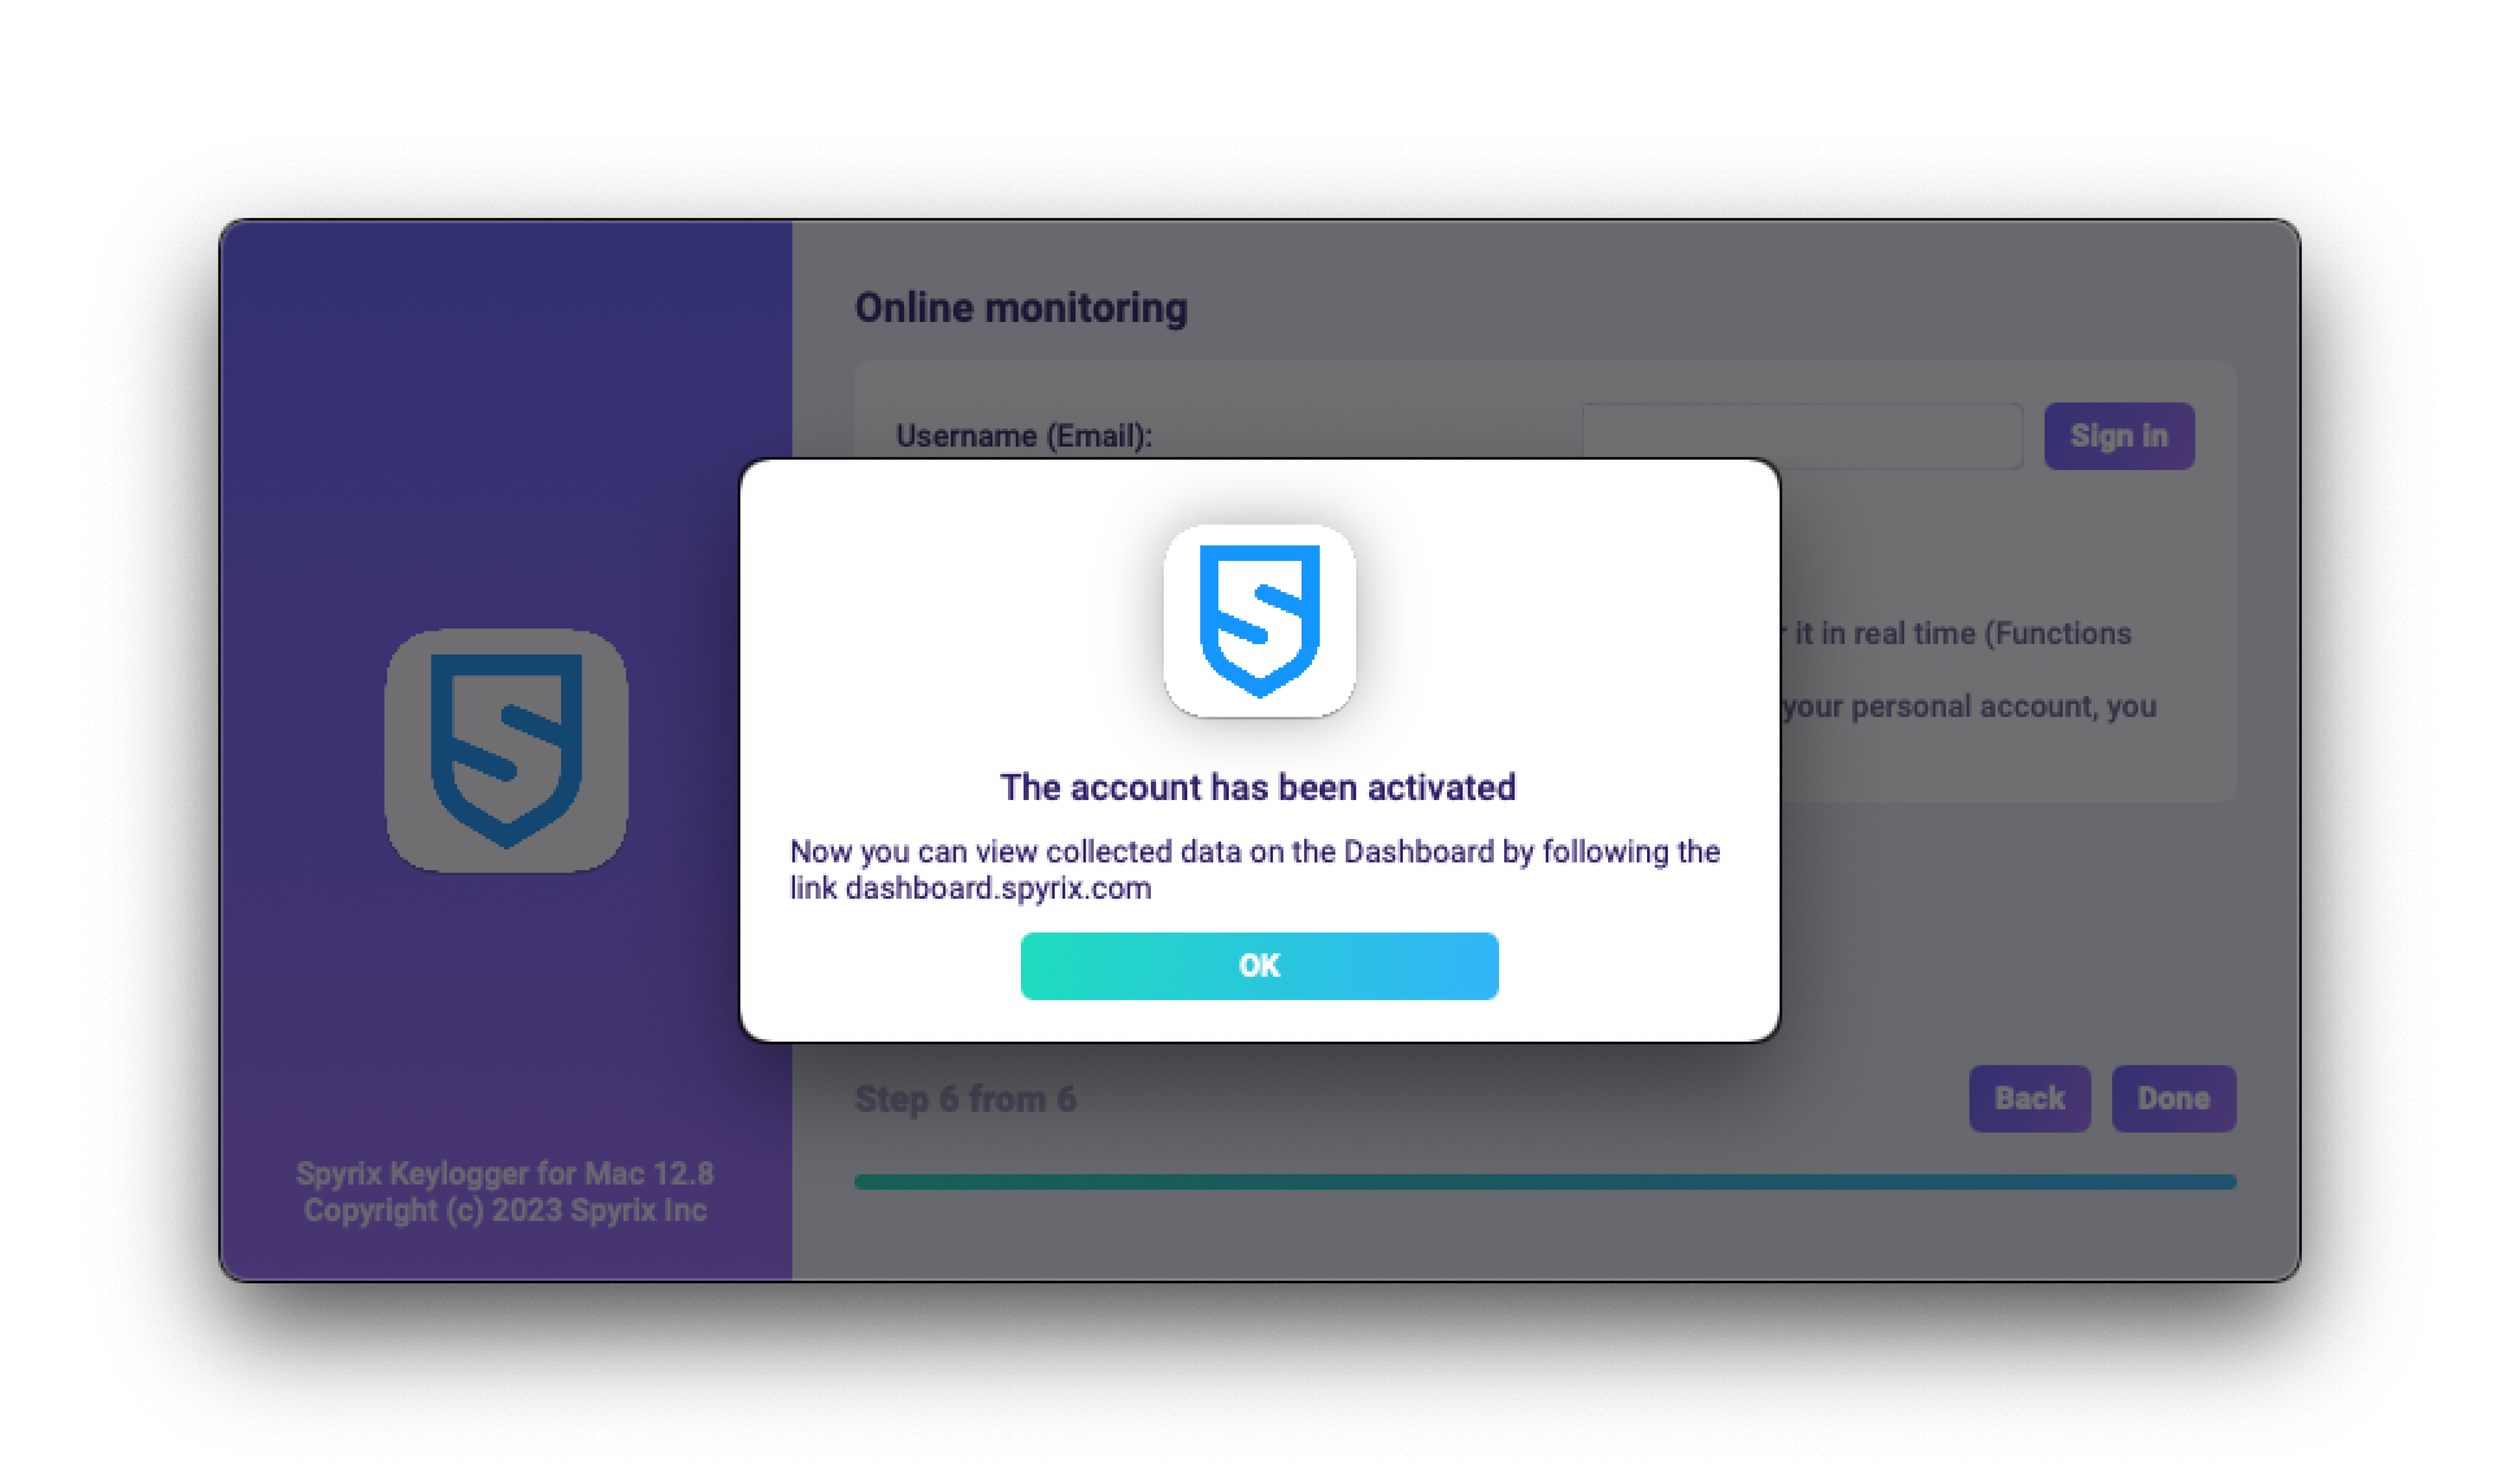
-
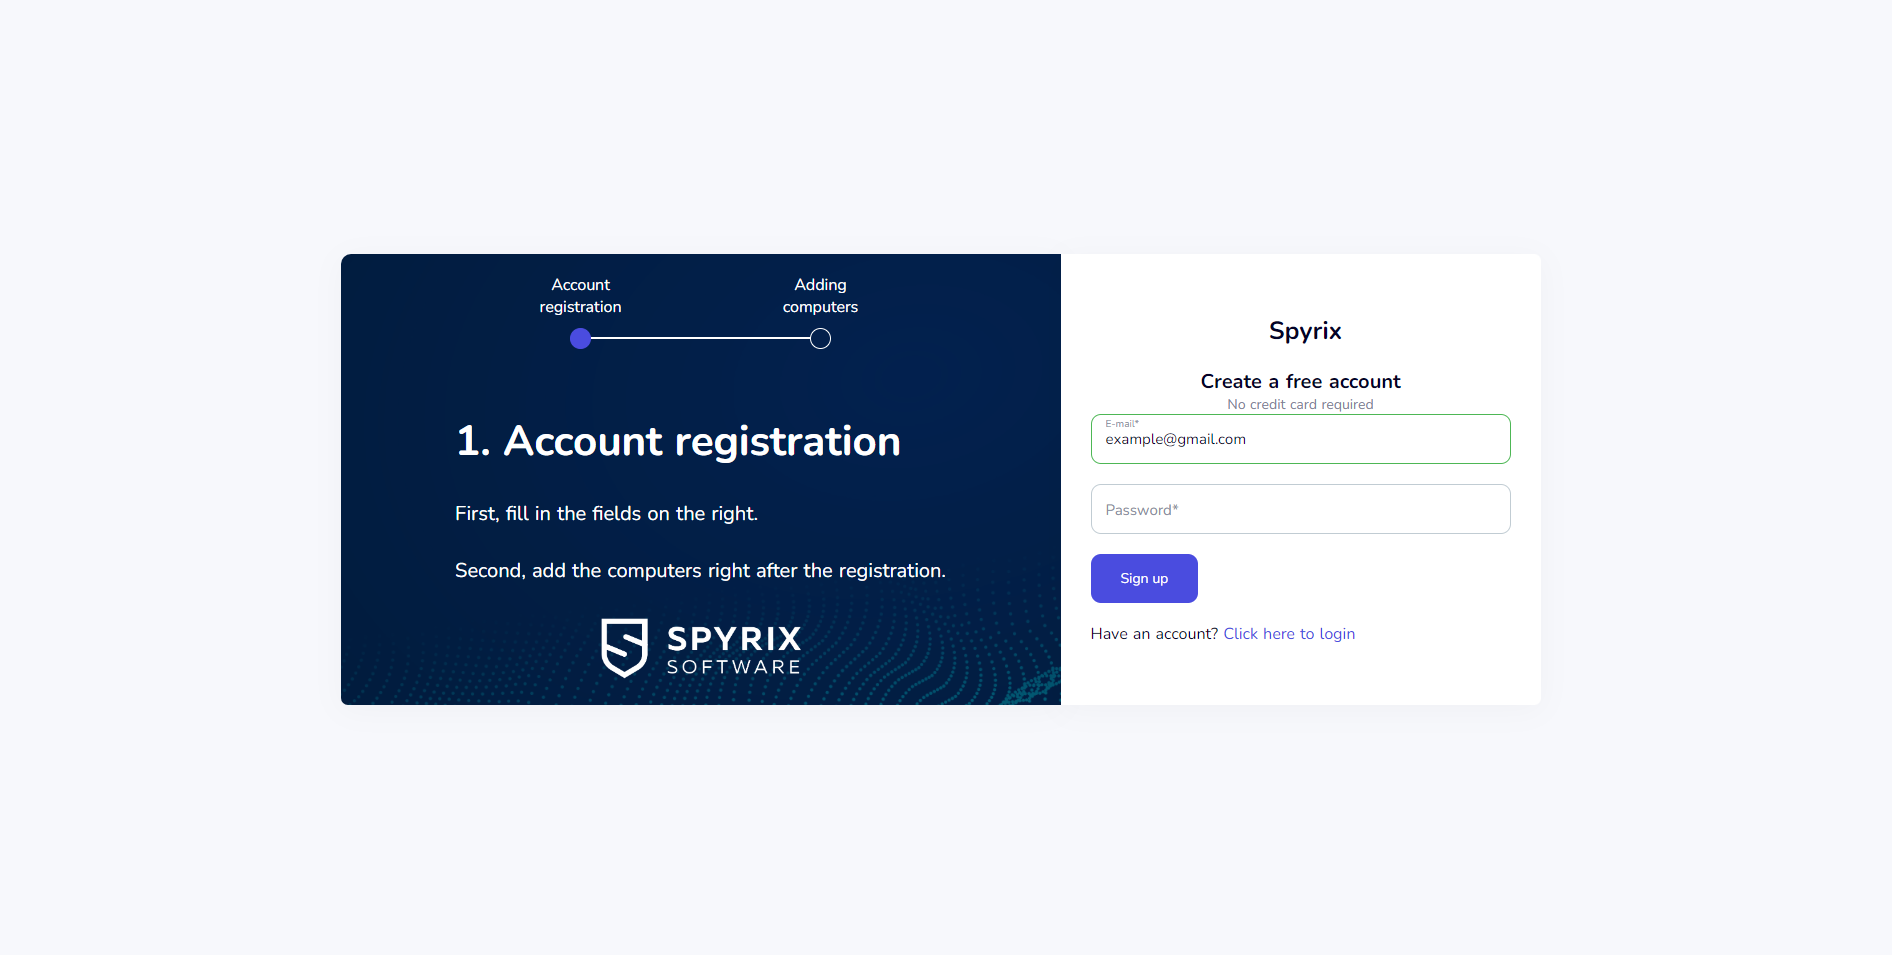
Si aún no tiene una cuenta, el programa la creará automáticamente y le pedirá que establezca una contraseña para acceder al panel en línea.
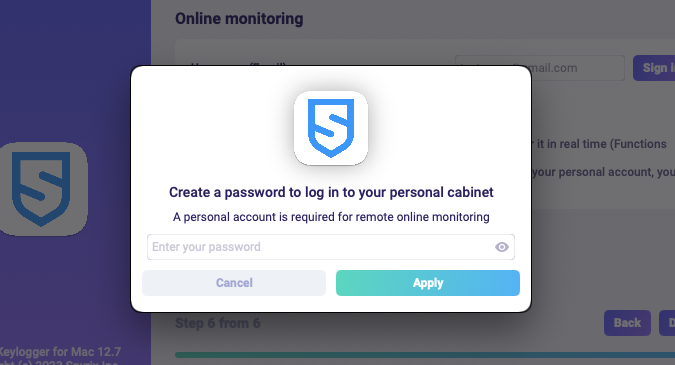
- También puede activar su cuenta posteriormente en las preferencias del programa. Si está en periodo de prueba o tiene una licencia con supervisión en línea, puede activar su cuenta en "Supervisión en línea".
-
Si ha registrado previamente una cuenta para Spyrix, verá el siguiente mensaje.
- Pulse "Hecho" para salir del Asistente. El programa se iniciará en unos segundos. Para abrirlo, pulse las teclas de acceso rápido Opt+Cmd+S (por defecto).
2. Cómo activar la supervisión*
El programa requiere derechos adicionales para realizar la supervisión. Durante el proceso de configuración, el programa solicita de forma independiente que se le conceda acceso.
Para otorgar al programa estos derechos, siga estos pasos:
1) Abra "Preferencias del Sistema" y vaya a "Seguridad y privacidad".
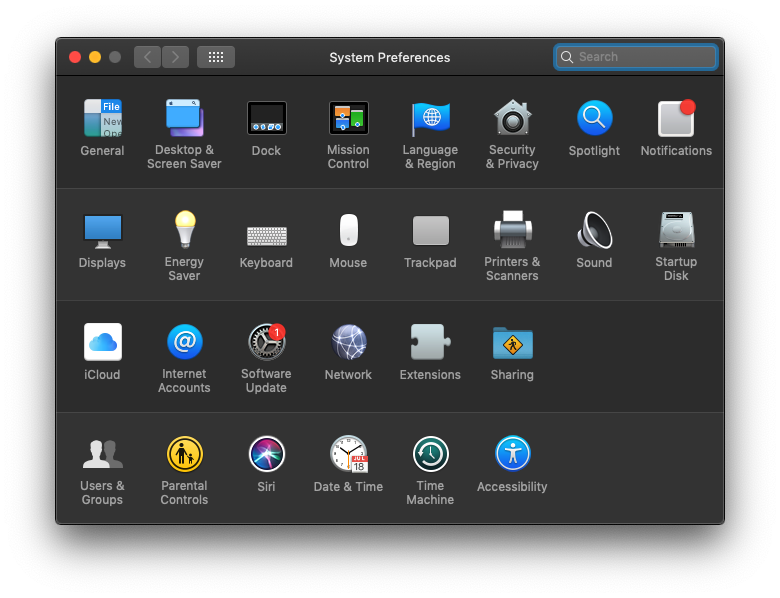
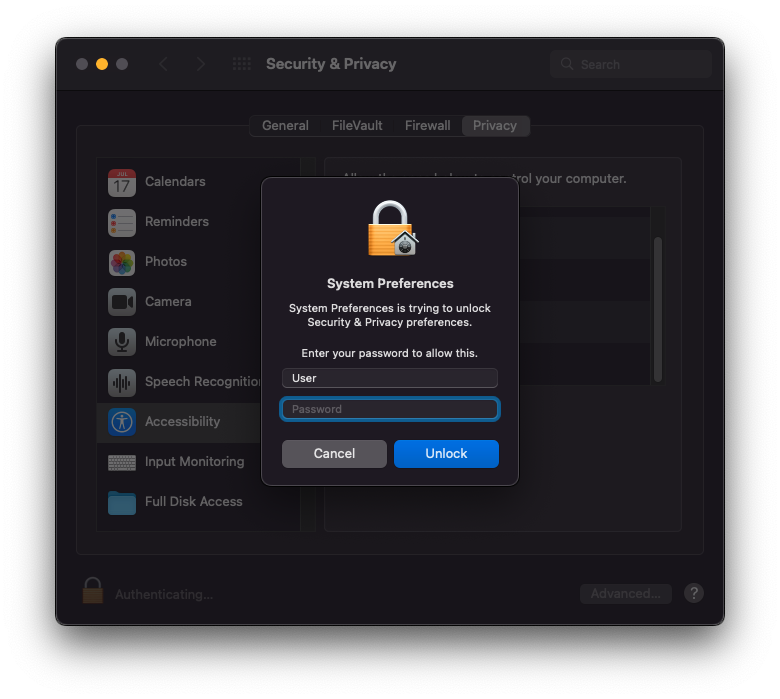
2) Vaya a Accesibilidad > haga clic en el candado para realizar cambios e introduzca la contraseña de administrador. La accesibilidad es necesaria para el seguimiento de las pulsaciones de teclas, las capturas de pantalla y las estadísticas de usuario.
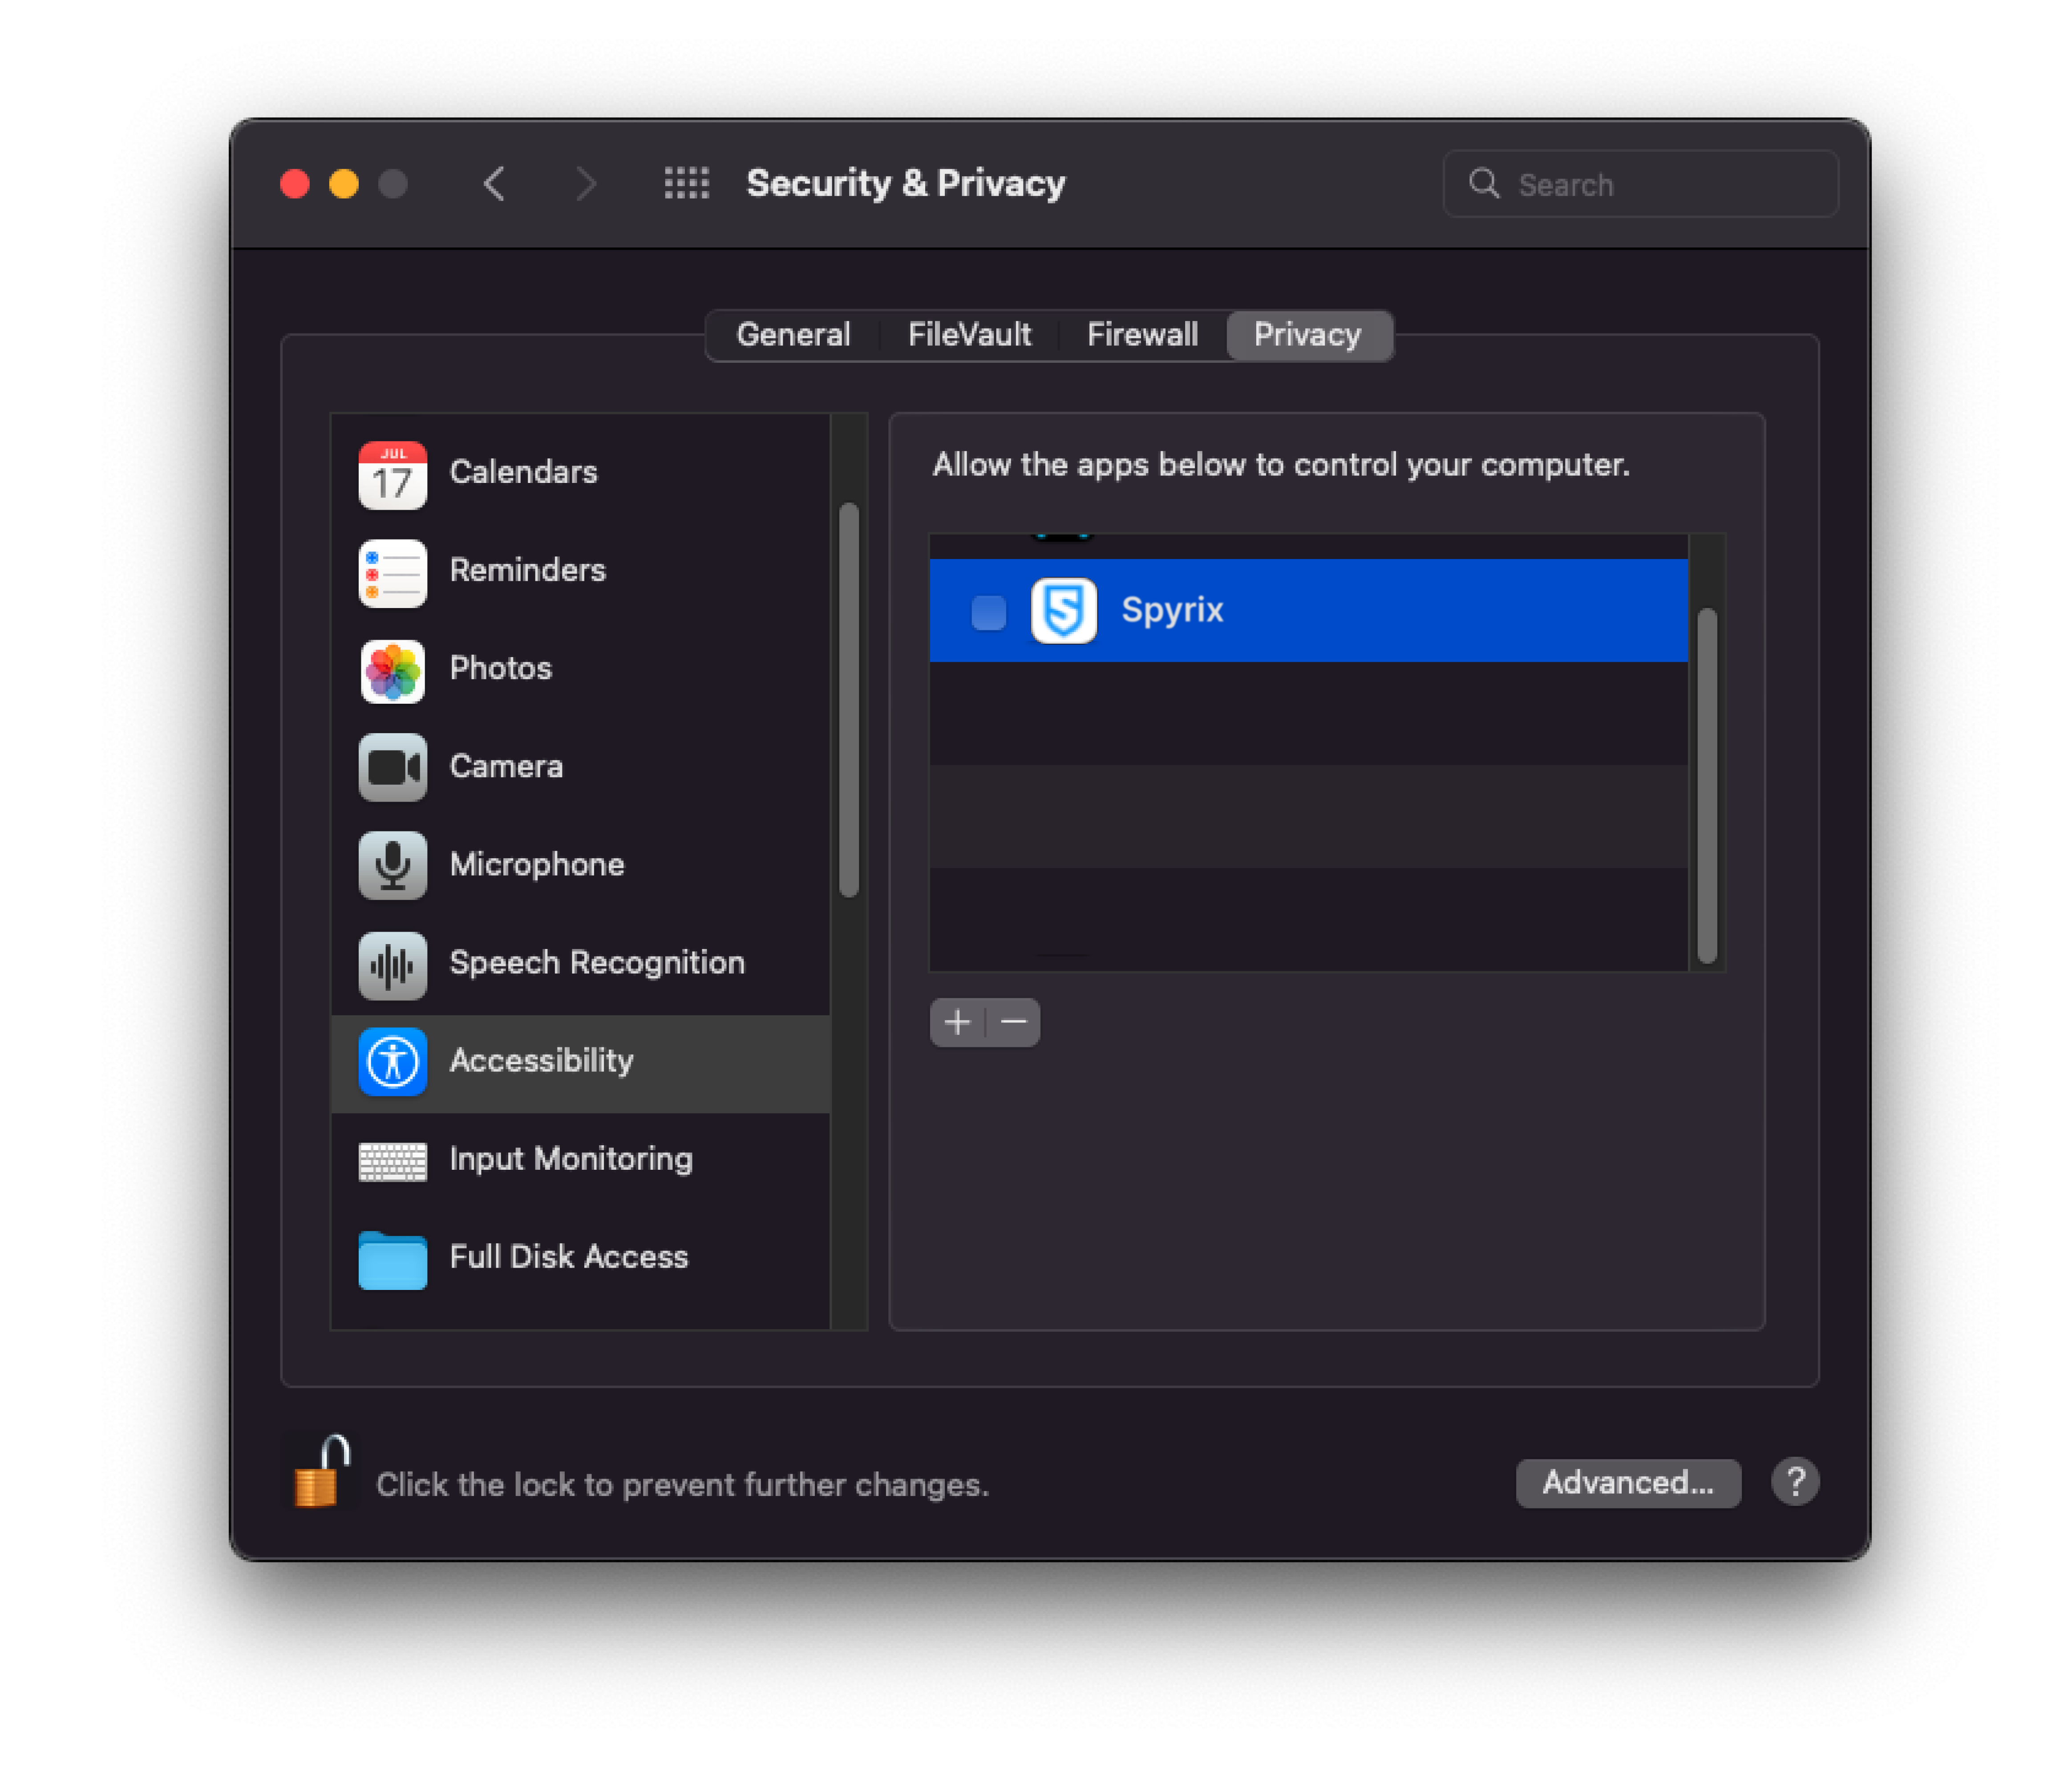
3) Introduzca su contraseña de administrador
4) Añade "Spyrix" a la lista de aplicaciones que pueden controlar el ordenador.
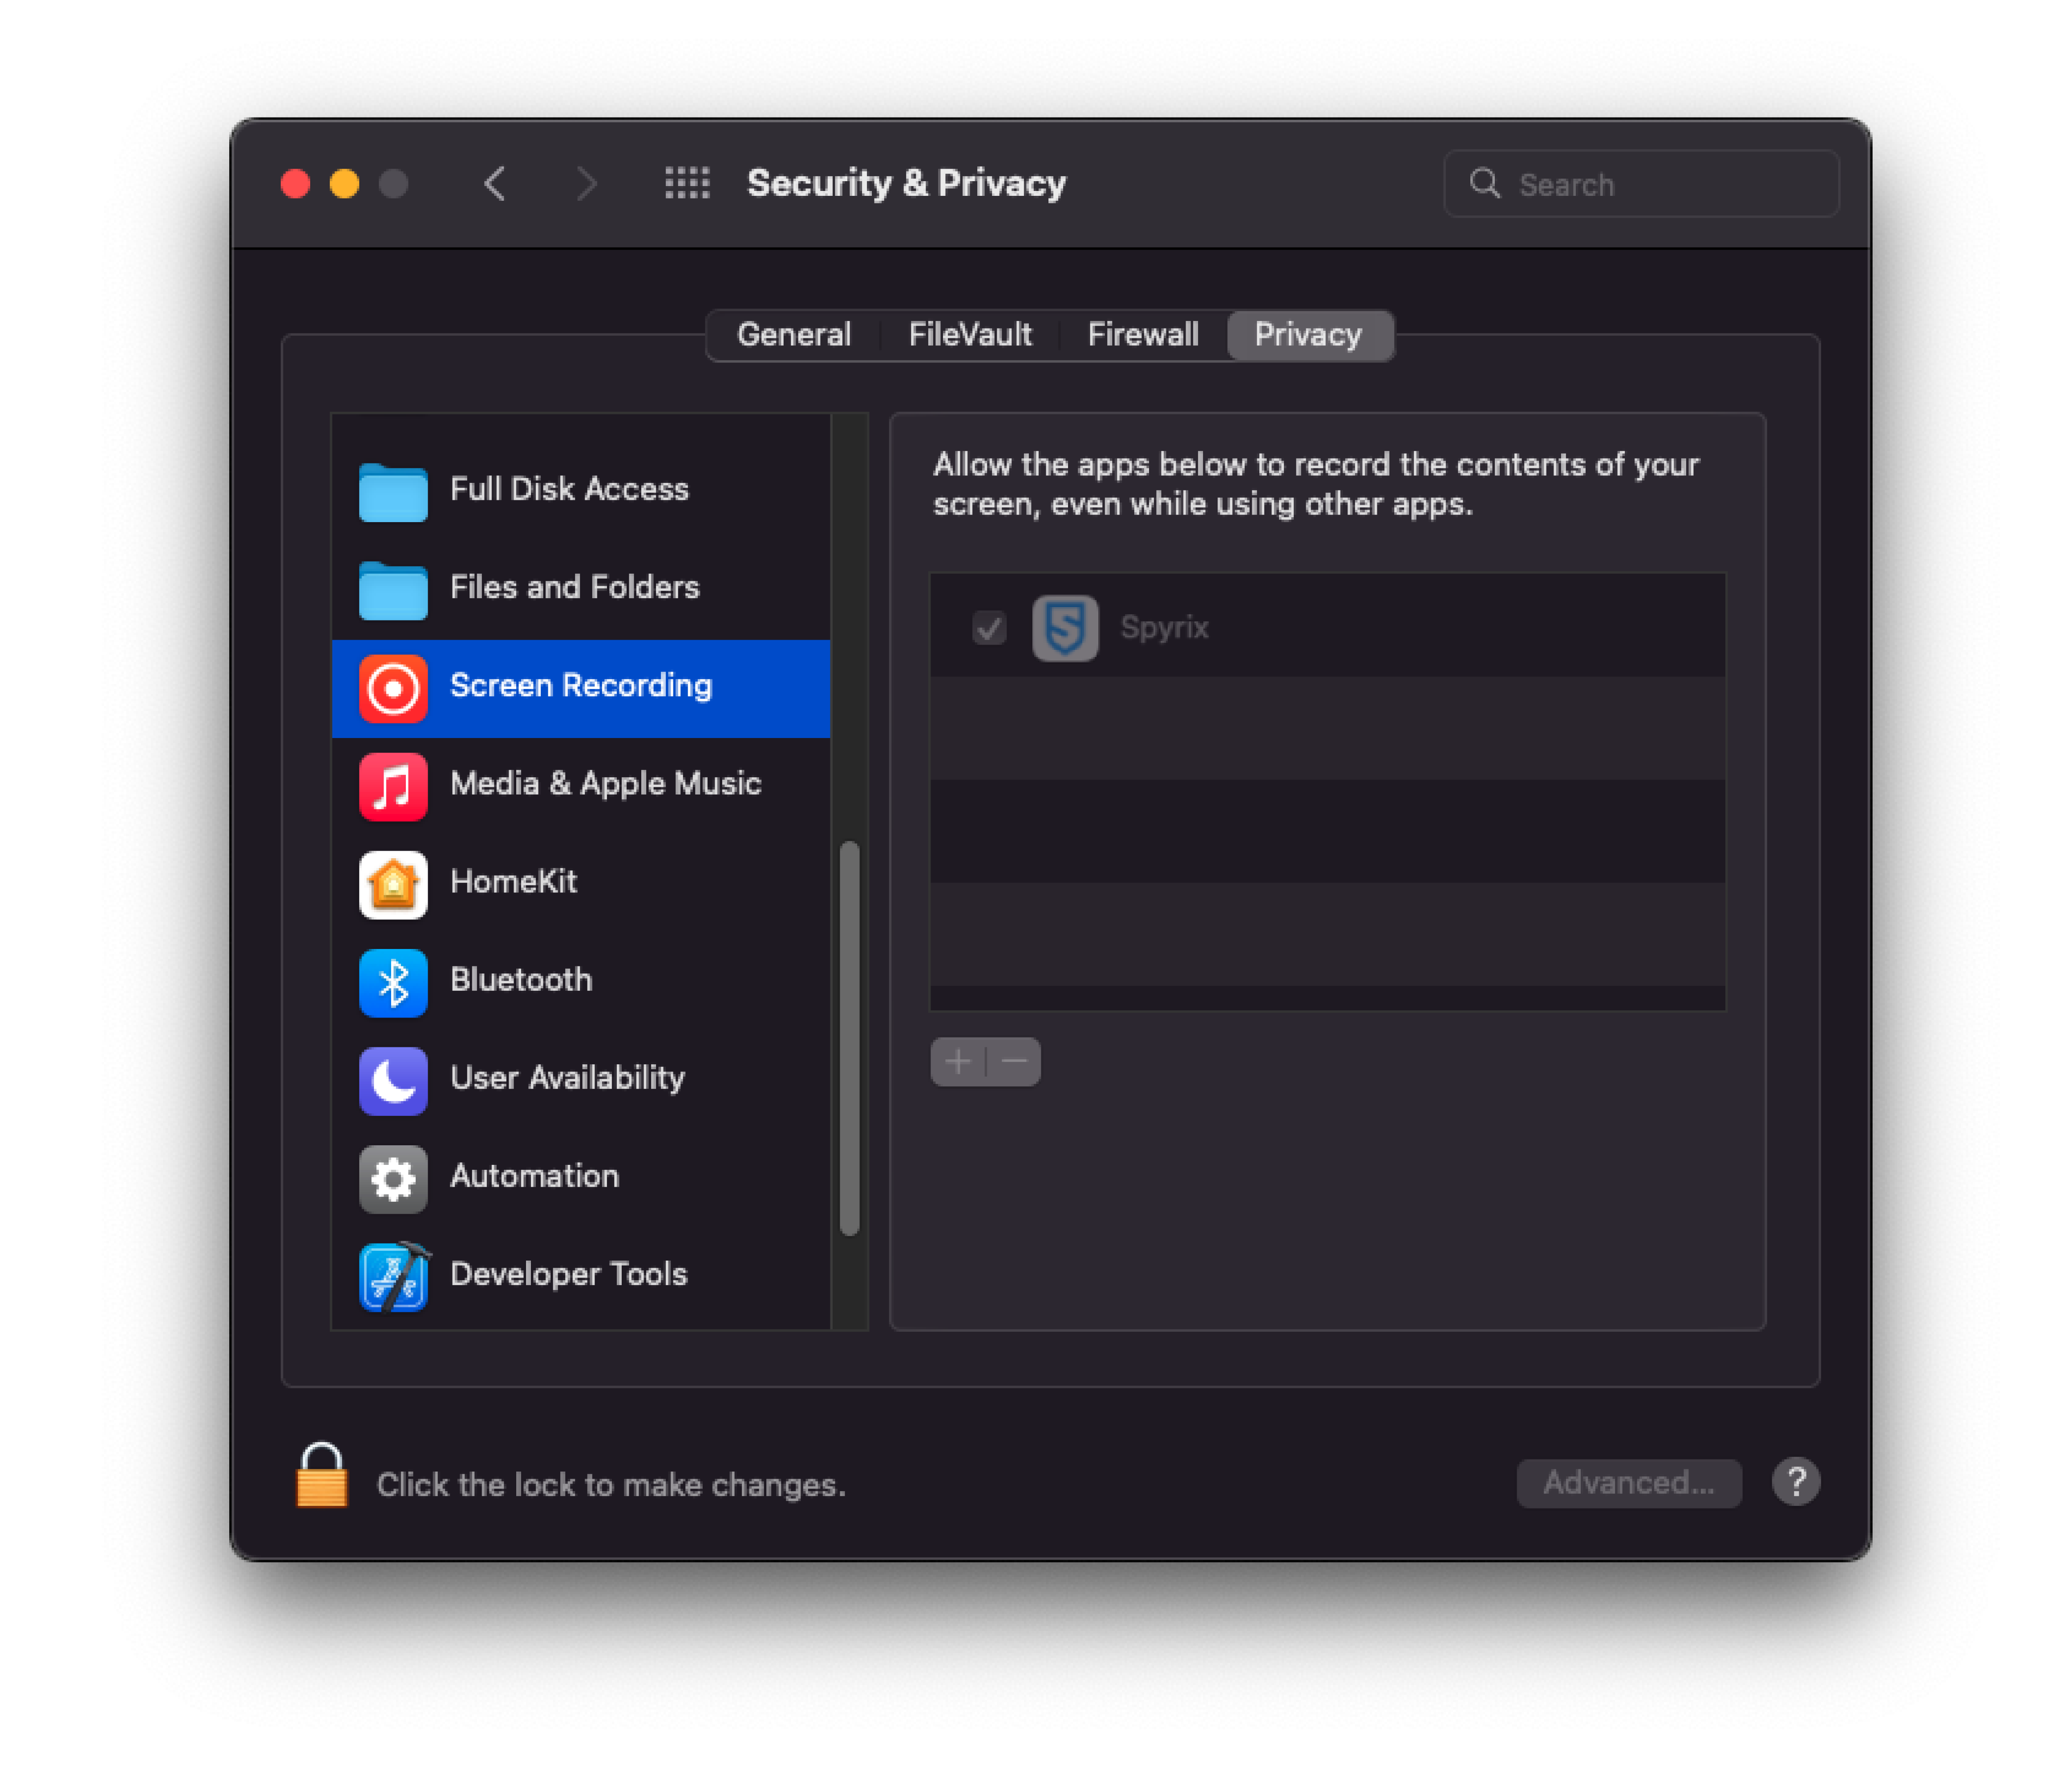
5) Vaya a "Grabación de pantalla" y permita "Spyrix" allí como lo hizo en "Accesibilidad". "Grabación de pantalla" es necesario para realizar capturas de pantalla y ver la pantalla en directo.
6) El acceso a una cámara y un micrófono es necesario para la grabación en directo de webcam, vídeo y sonido. Para concederlo, vaya a "Cámara" y "Micrófono" y permita "Spyrix".
7) Vaya a "Servicios de localización" y permita "Spyrix". El acceso a la geolocalización es necesario para rastrear la ubicación del ordenador.
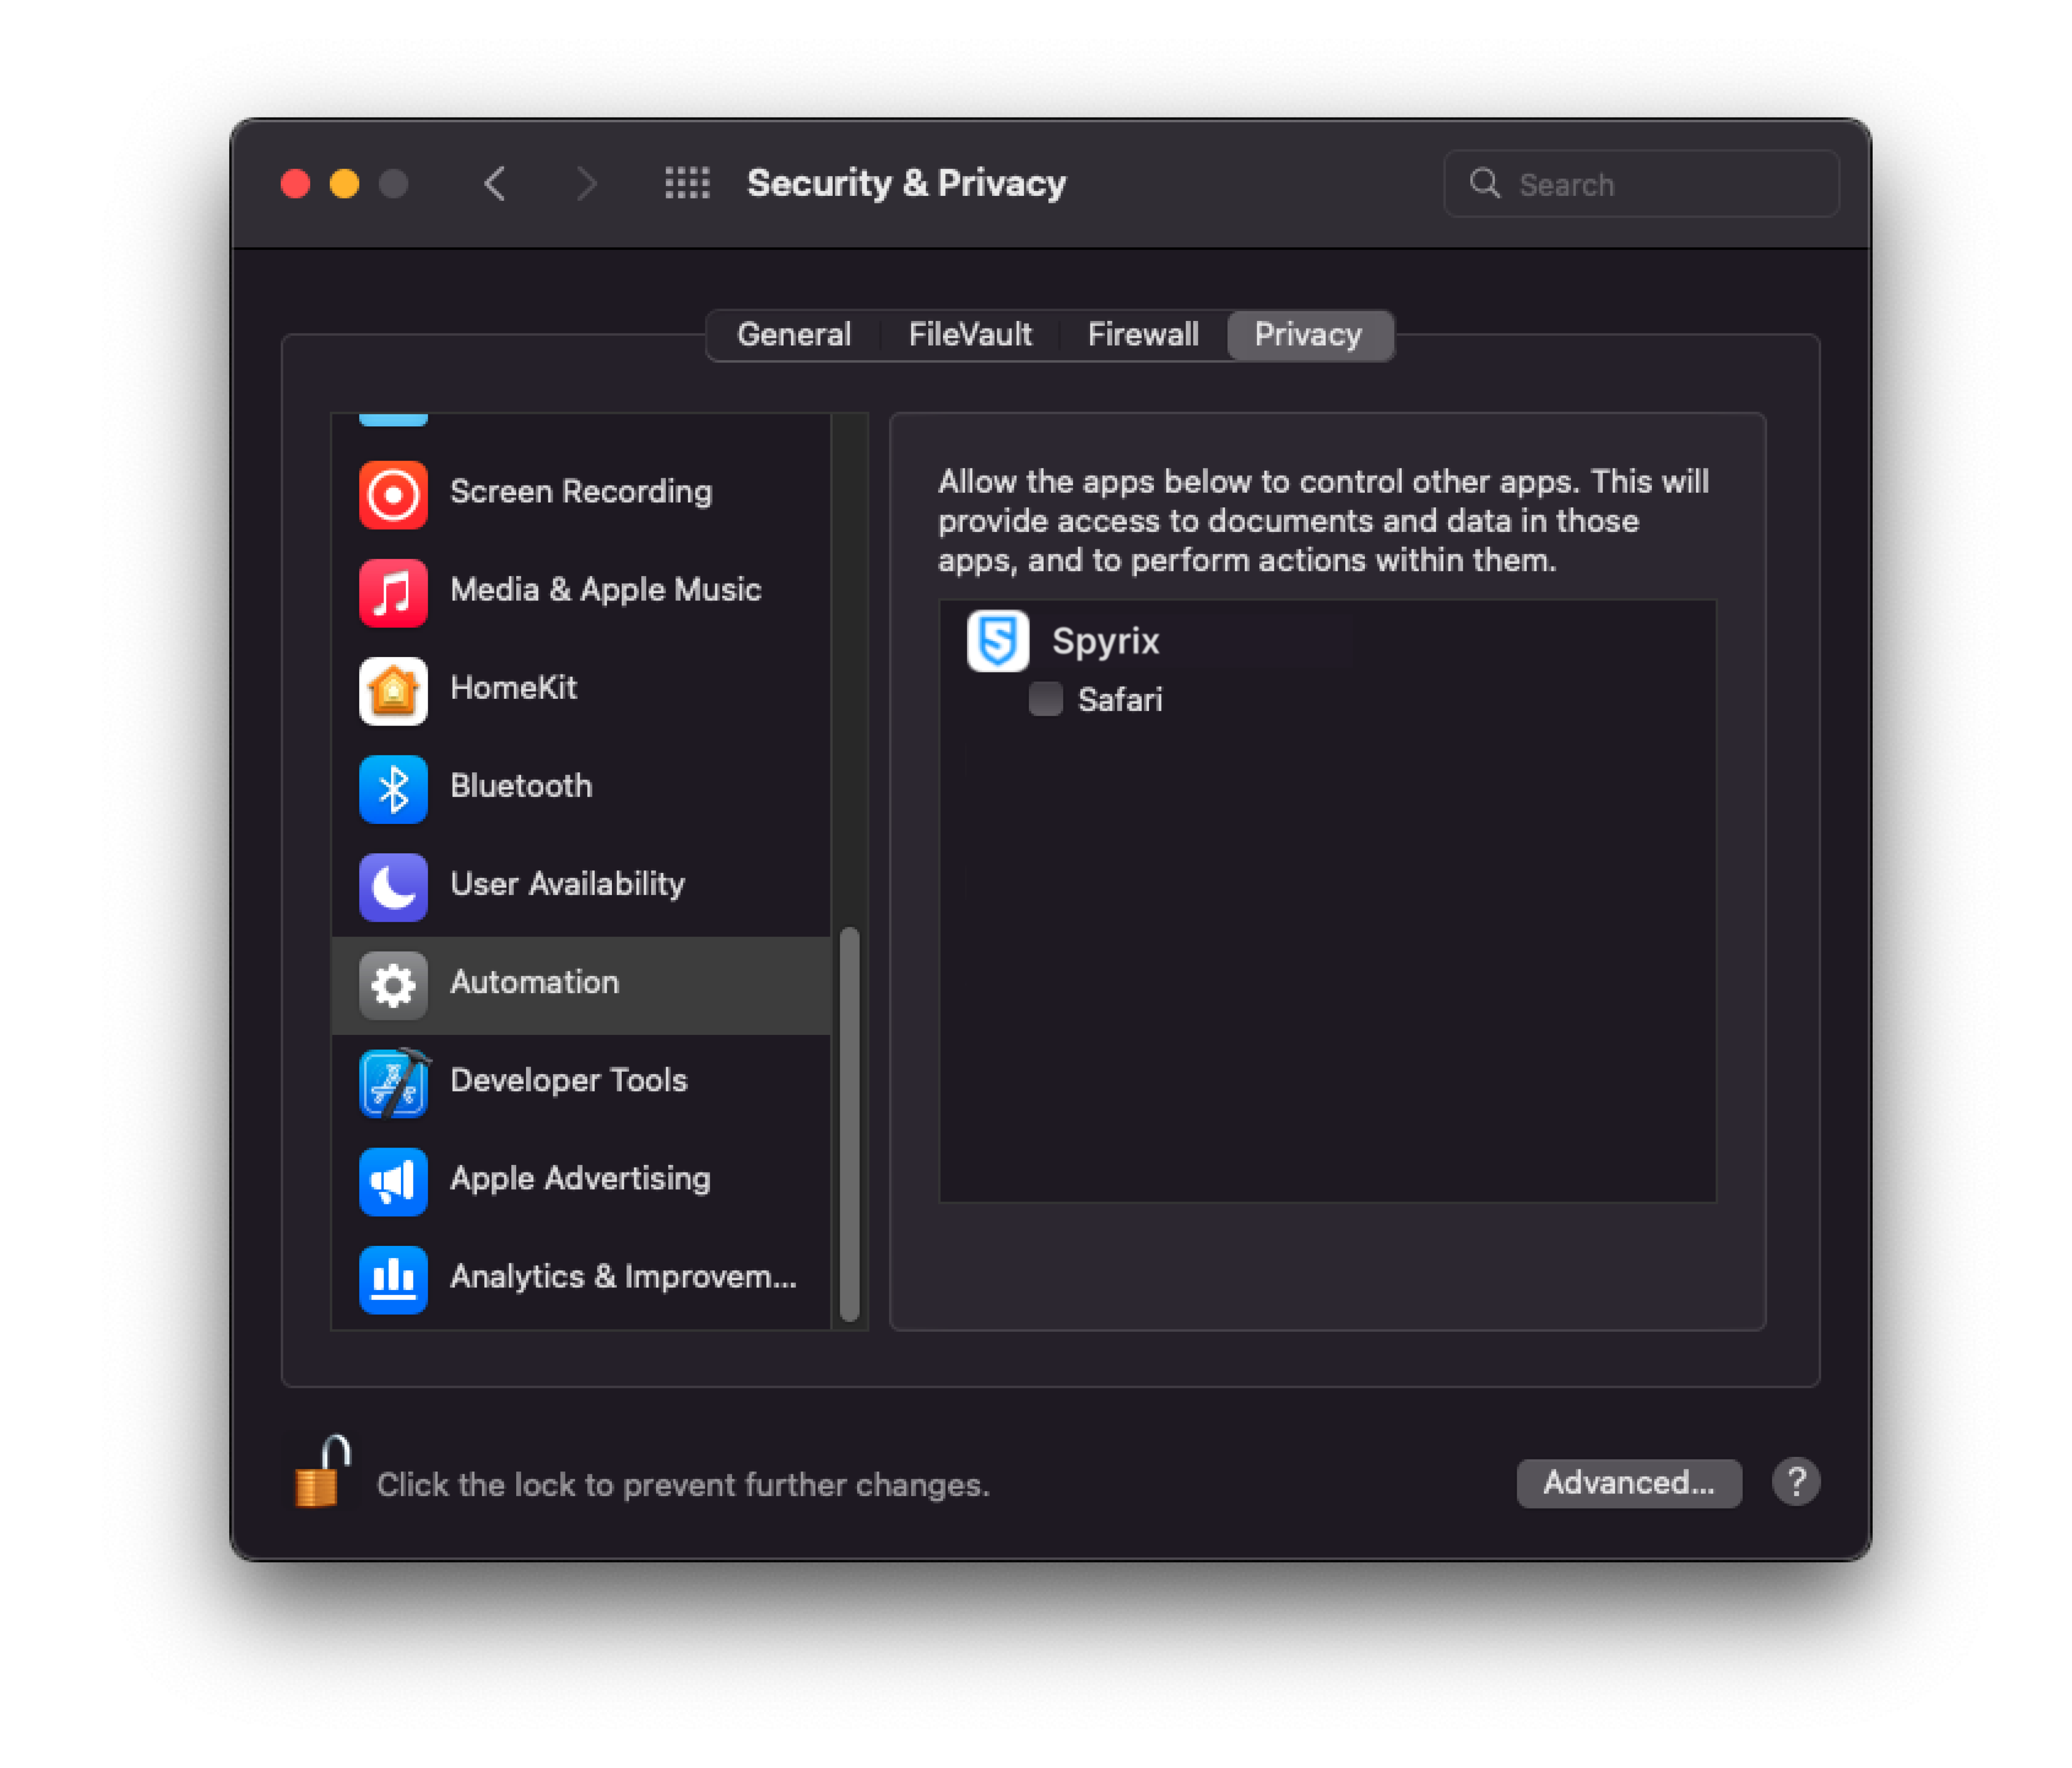
8) Vaya a "Automatización" y conceda acceso a "Spyrixl" como hizo en la configuración de "Accesibilidad". El acceso a "Automatización" es esencial para rastrear la actividad en Internet.
3. Cómo registrar la licencia
3.1 Cómo registrar la licencia en el programa
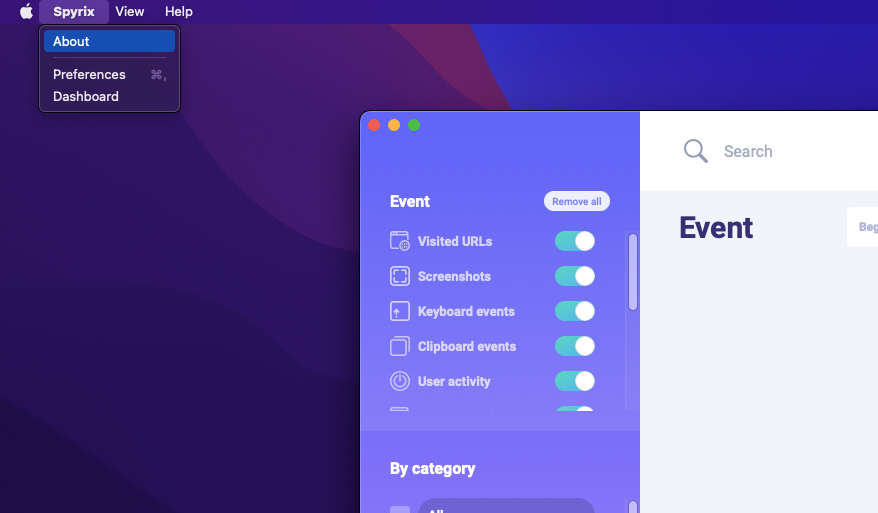
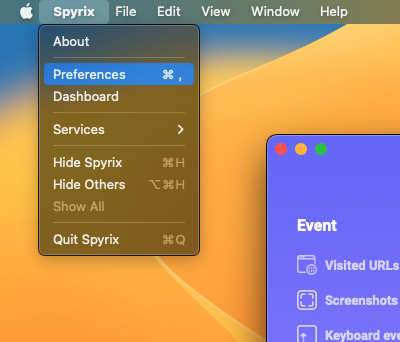
1) Si no registró la licencia en el Asistente de instalación, puede hacerlo más tarde en el programa. Para registrar su licencia, haga clic en el botón "Acerca de" en el programa.
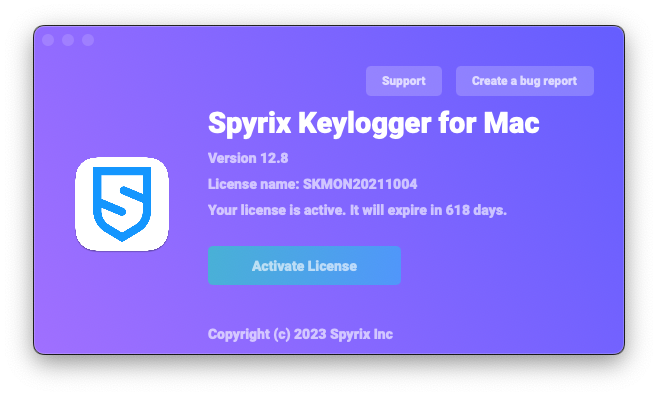
2) Haga clic en "Activar licencia".
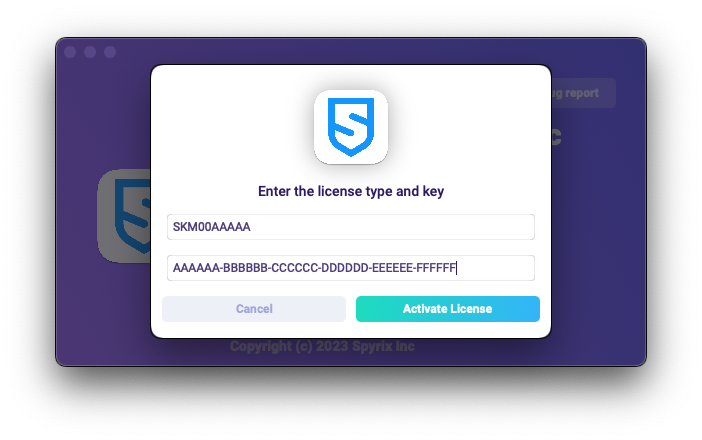
3) Copie/pegue el código de licencia que recibió tras la compra en los campos correspondientes y haga clic en "Activar licencia".

Por ejemplo:
Tipo de licencia: SKM00AAAAA
Código de activación: AAAAAA-BBBBBB-CCCCCC-DDDDDD-EEEEEE-FFFFFF
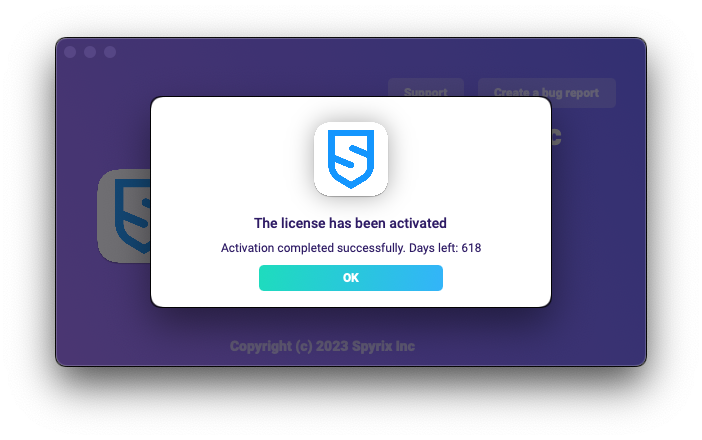
4) Si ha hecho todo correctamente, verá este mensaje y el programa se reiniciará automáticamente.
5) Tras el reinicio, el programa permanecerá oculto. Para abrir el programa, pulsa Opción+Cmd+S.
3.2 Cómo registrar la licencia en el panel de control en línea
Sólo para Spyrix Keylogger para Mac (+Supervisión en línea) y Spyrix Employee Monitoring para Mac.
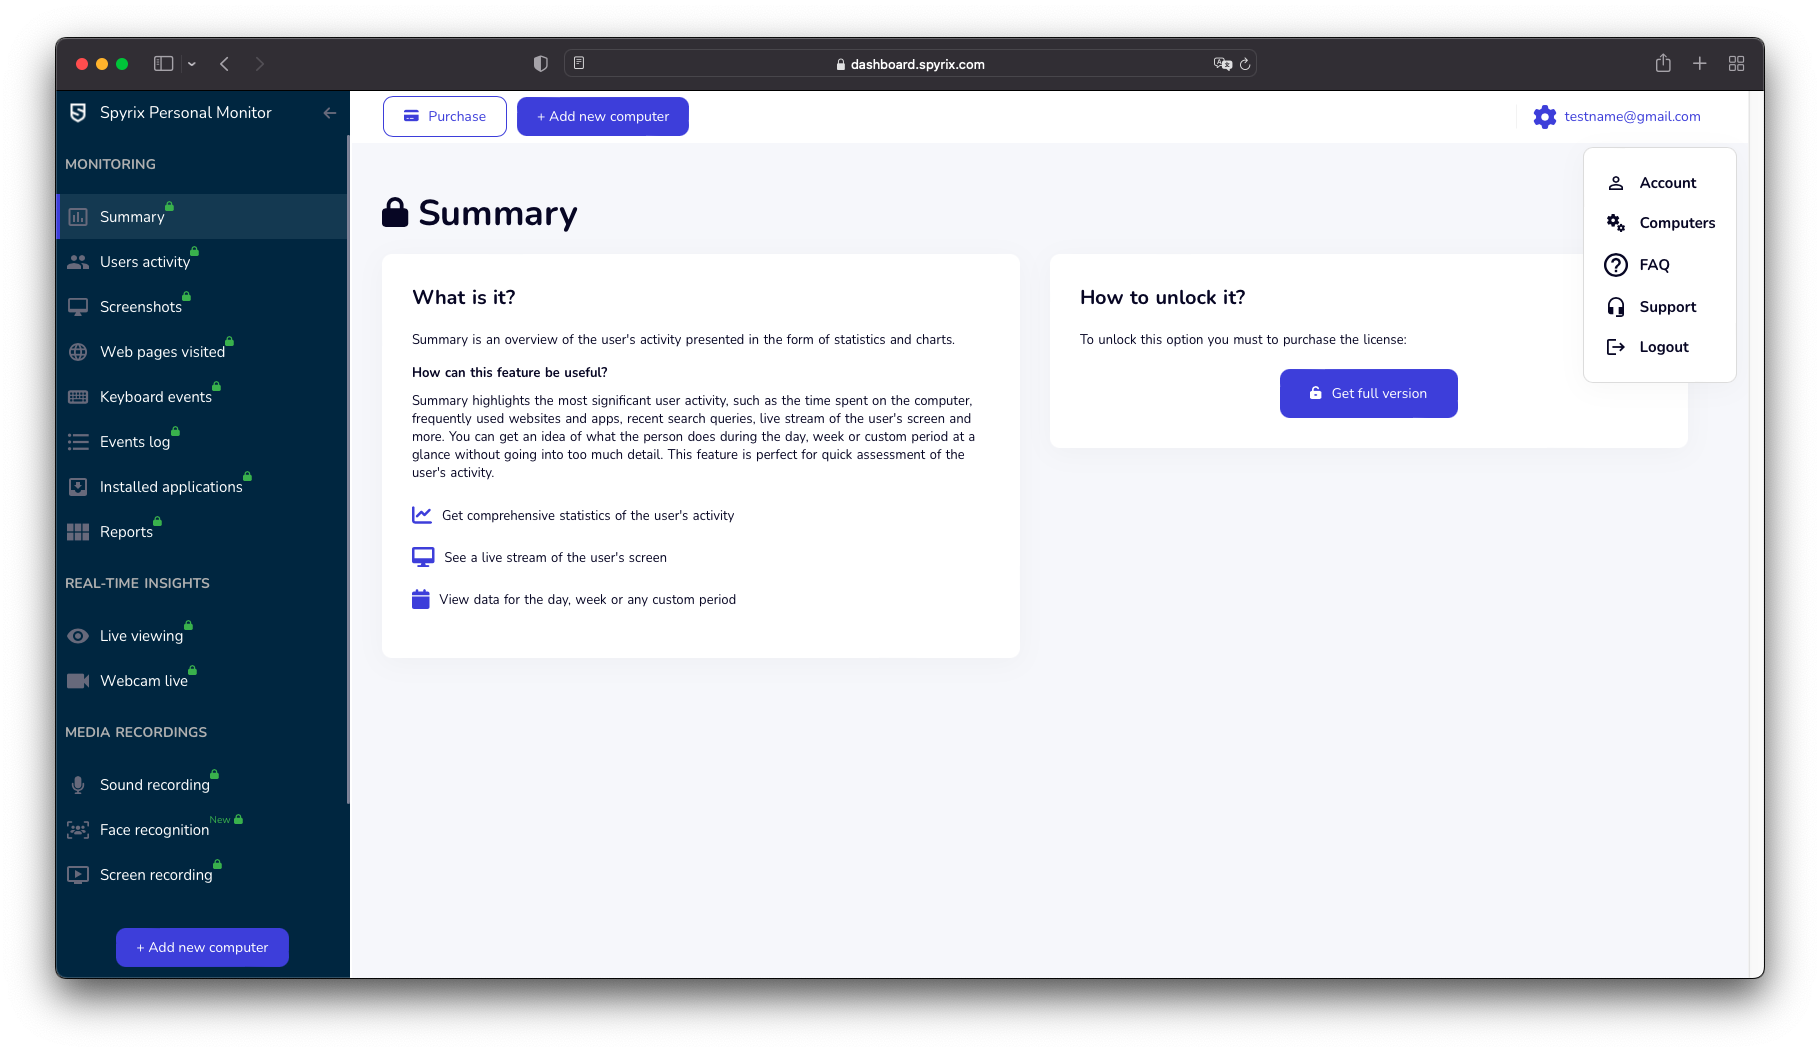
1) Acceda a su panel de control en línea, haga clic en su correo electrónico en la esquina superior derecha de la pantalla y seleccione "Cuenta" en el menú desplegable.
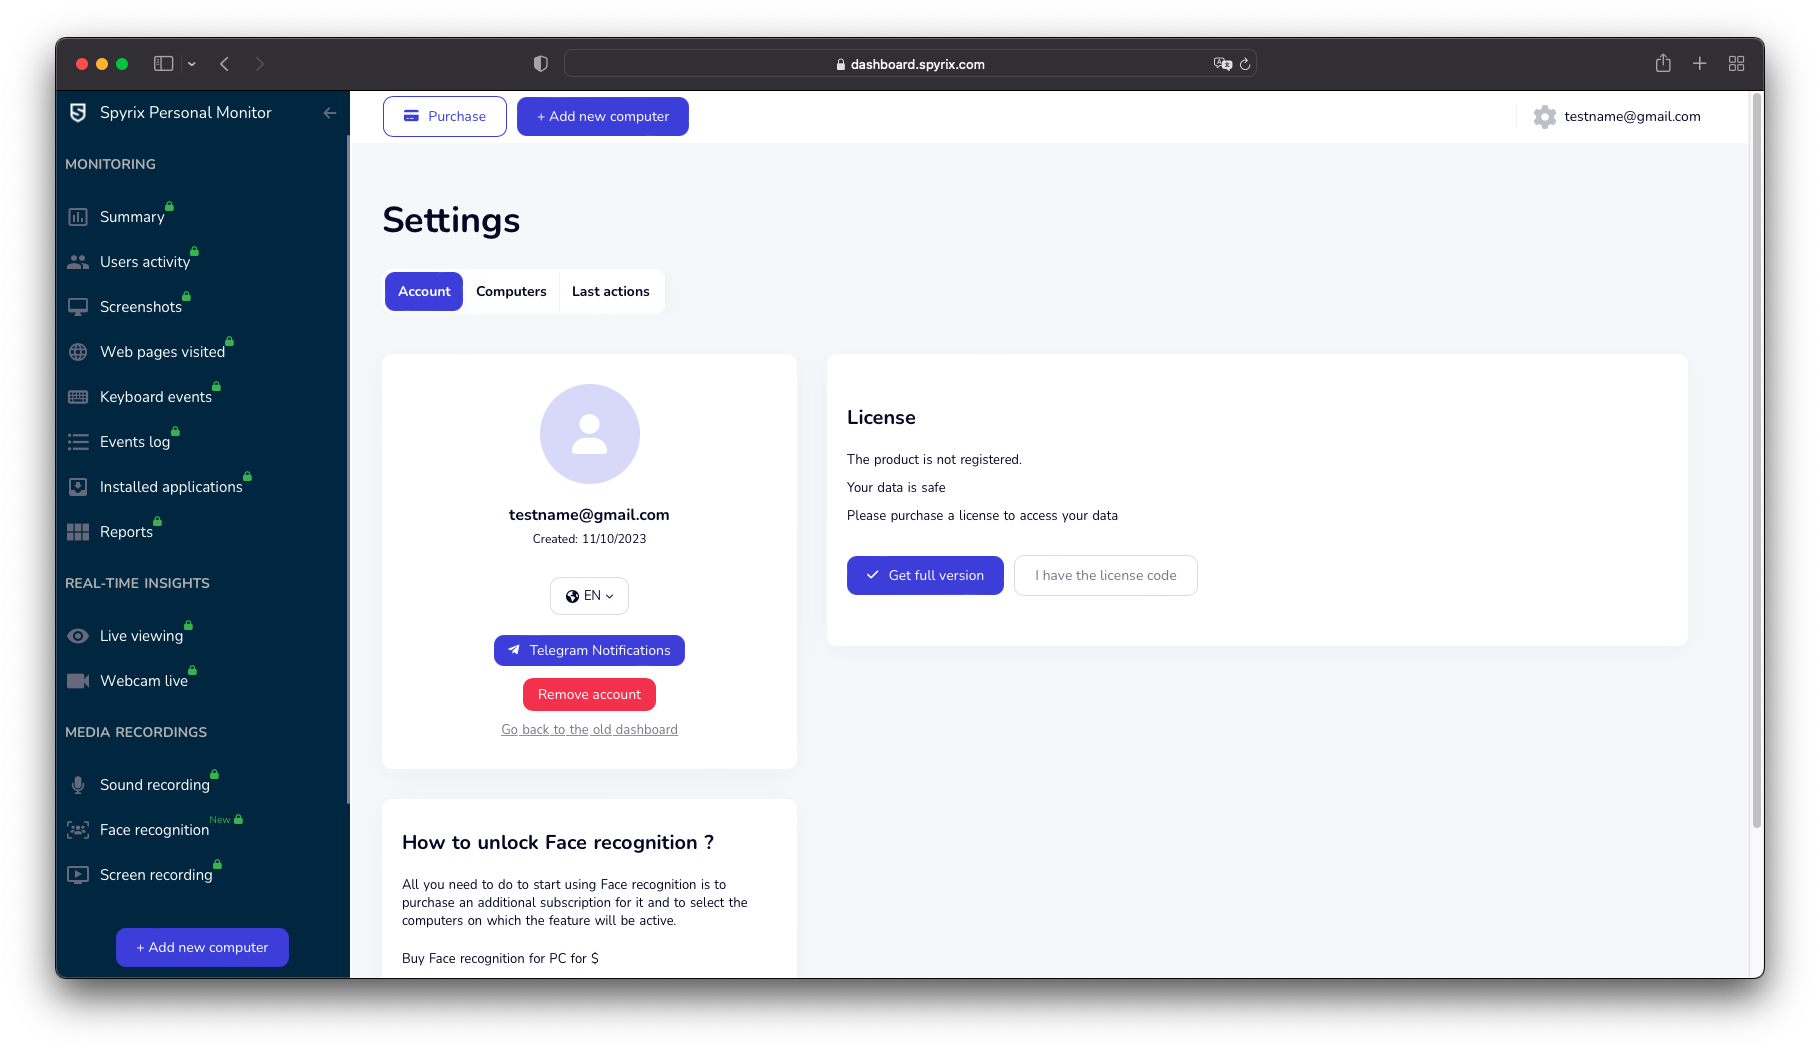
2) En la sección "Licencia", haga clic en "Tengo el código de licencia".
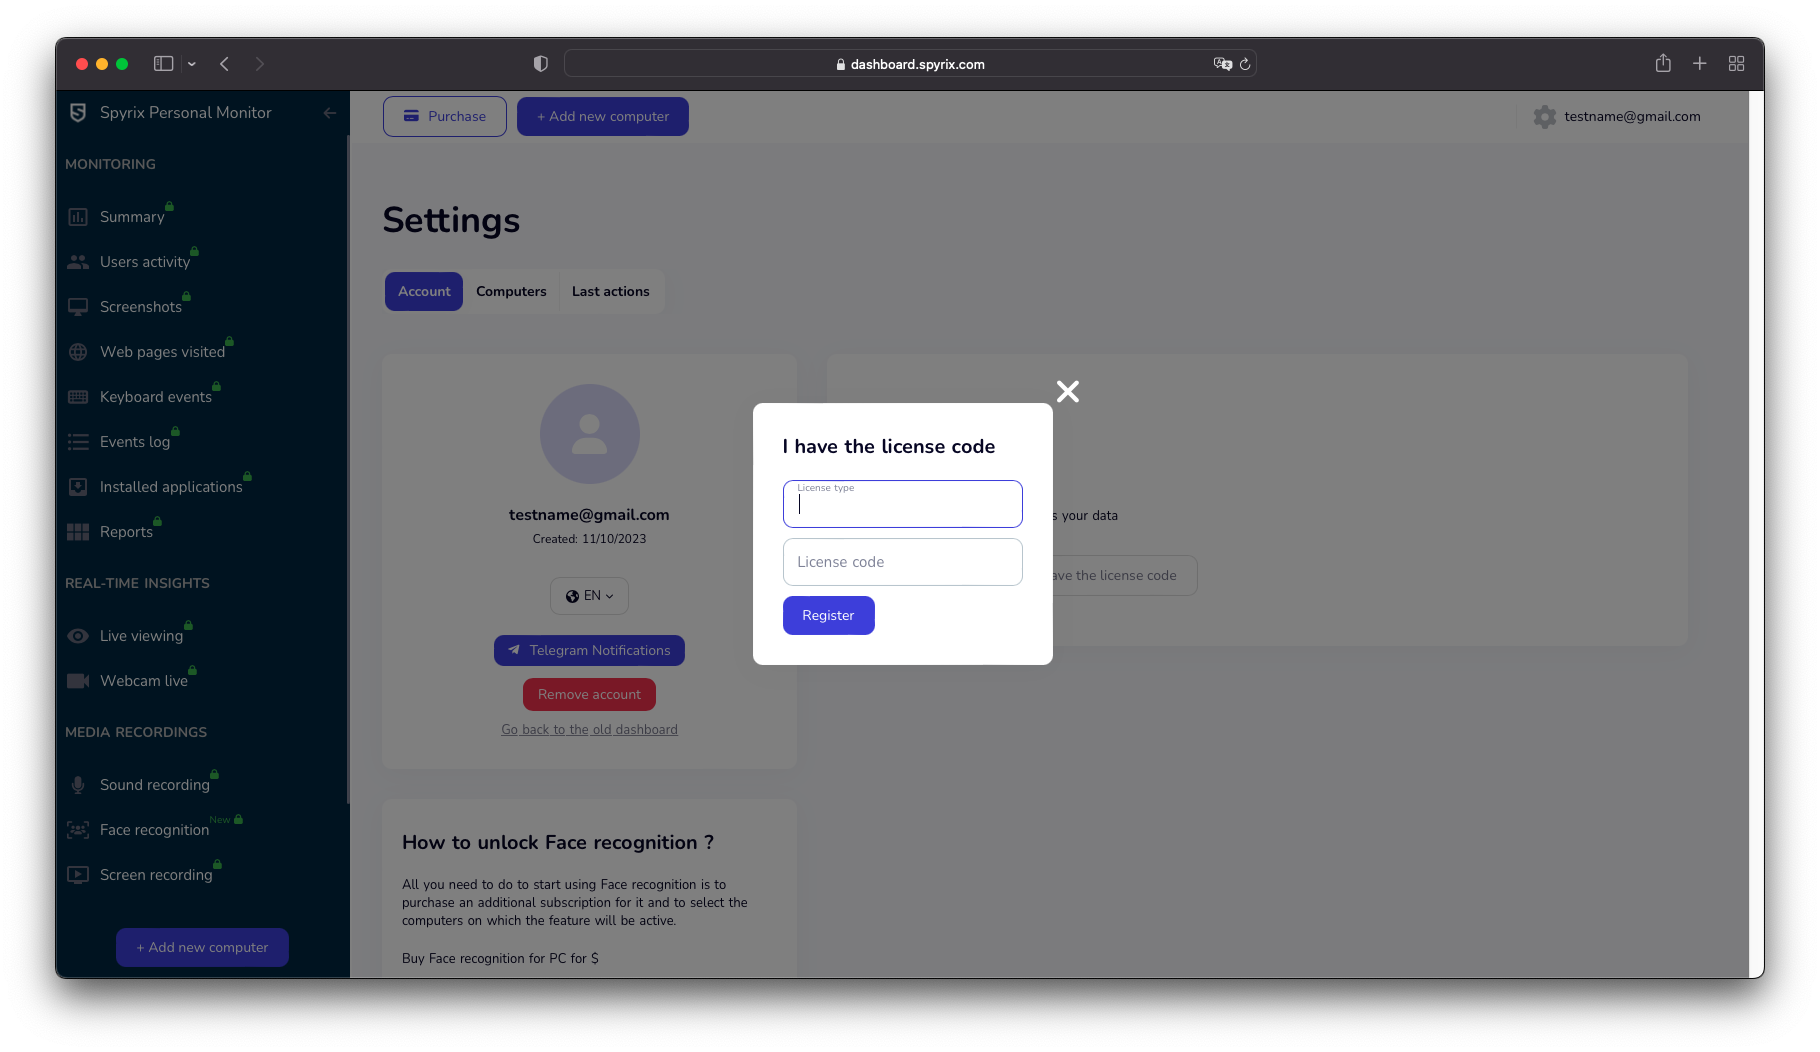
3) Introduzca su tipo y código de licencia y haga clic en "Registrar".
4. Teclas de acceso rápido para cambiar el programa del modo oculto
Las teclas de acceso rápido por defecto para abrir el programa son Opción+Cmd+S. Para cambiar las teclas de acceso rápido, ve a Configuración > Invisibilidad&Contraseña > Desocultar opciones. En este caso, no olvide su configuración personalizada.
5. Envío de registros
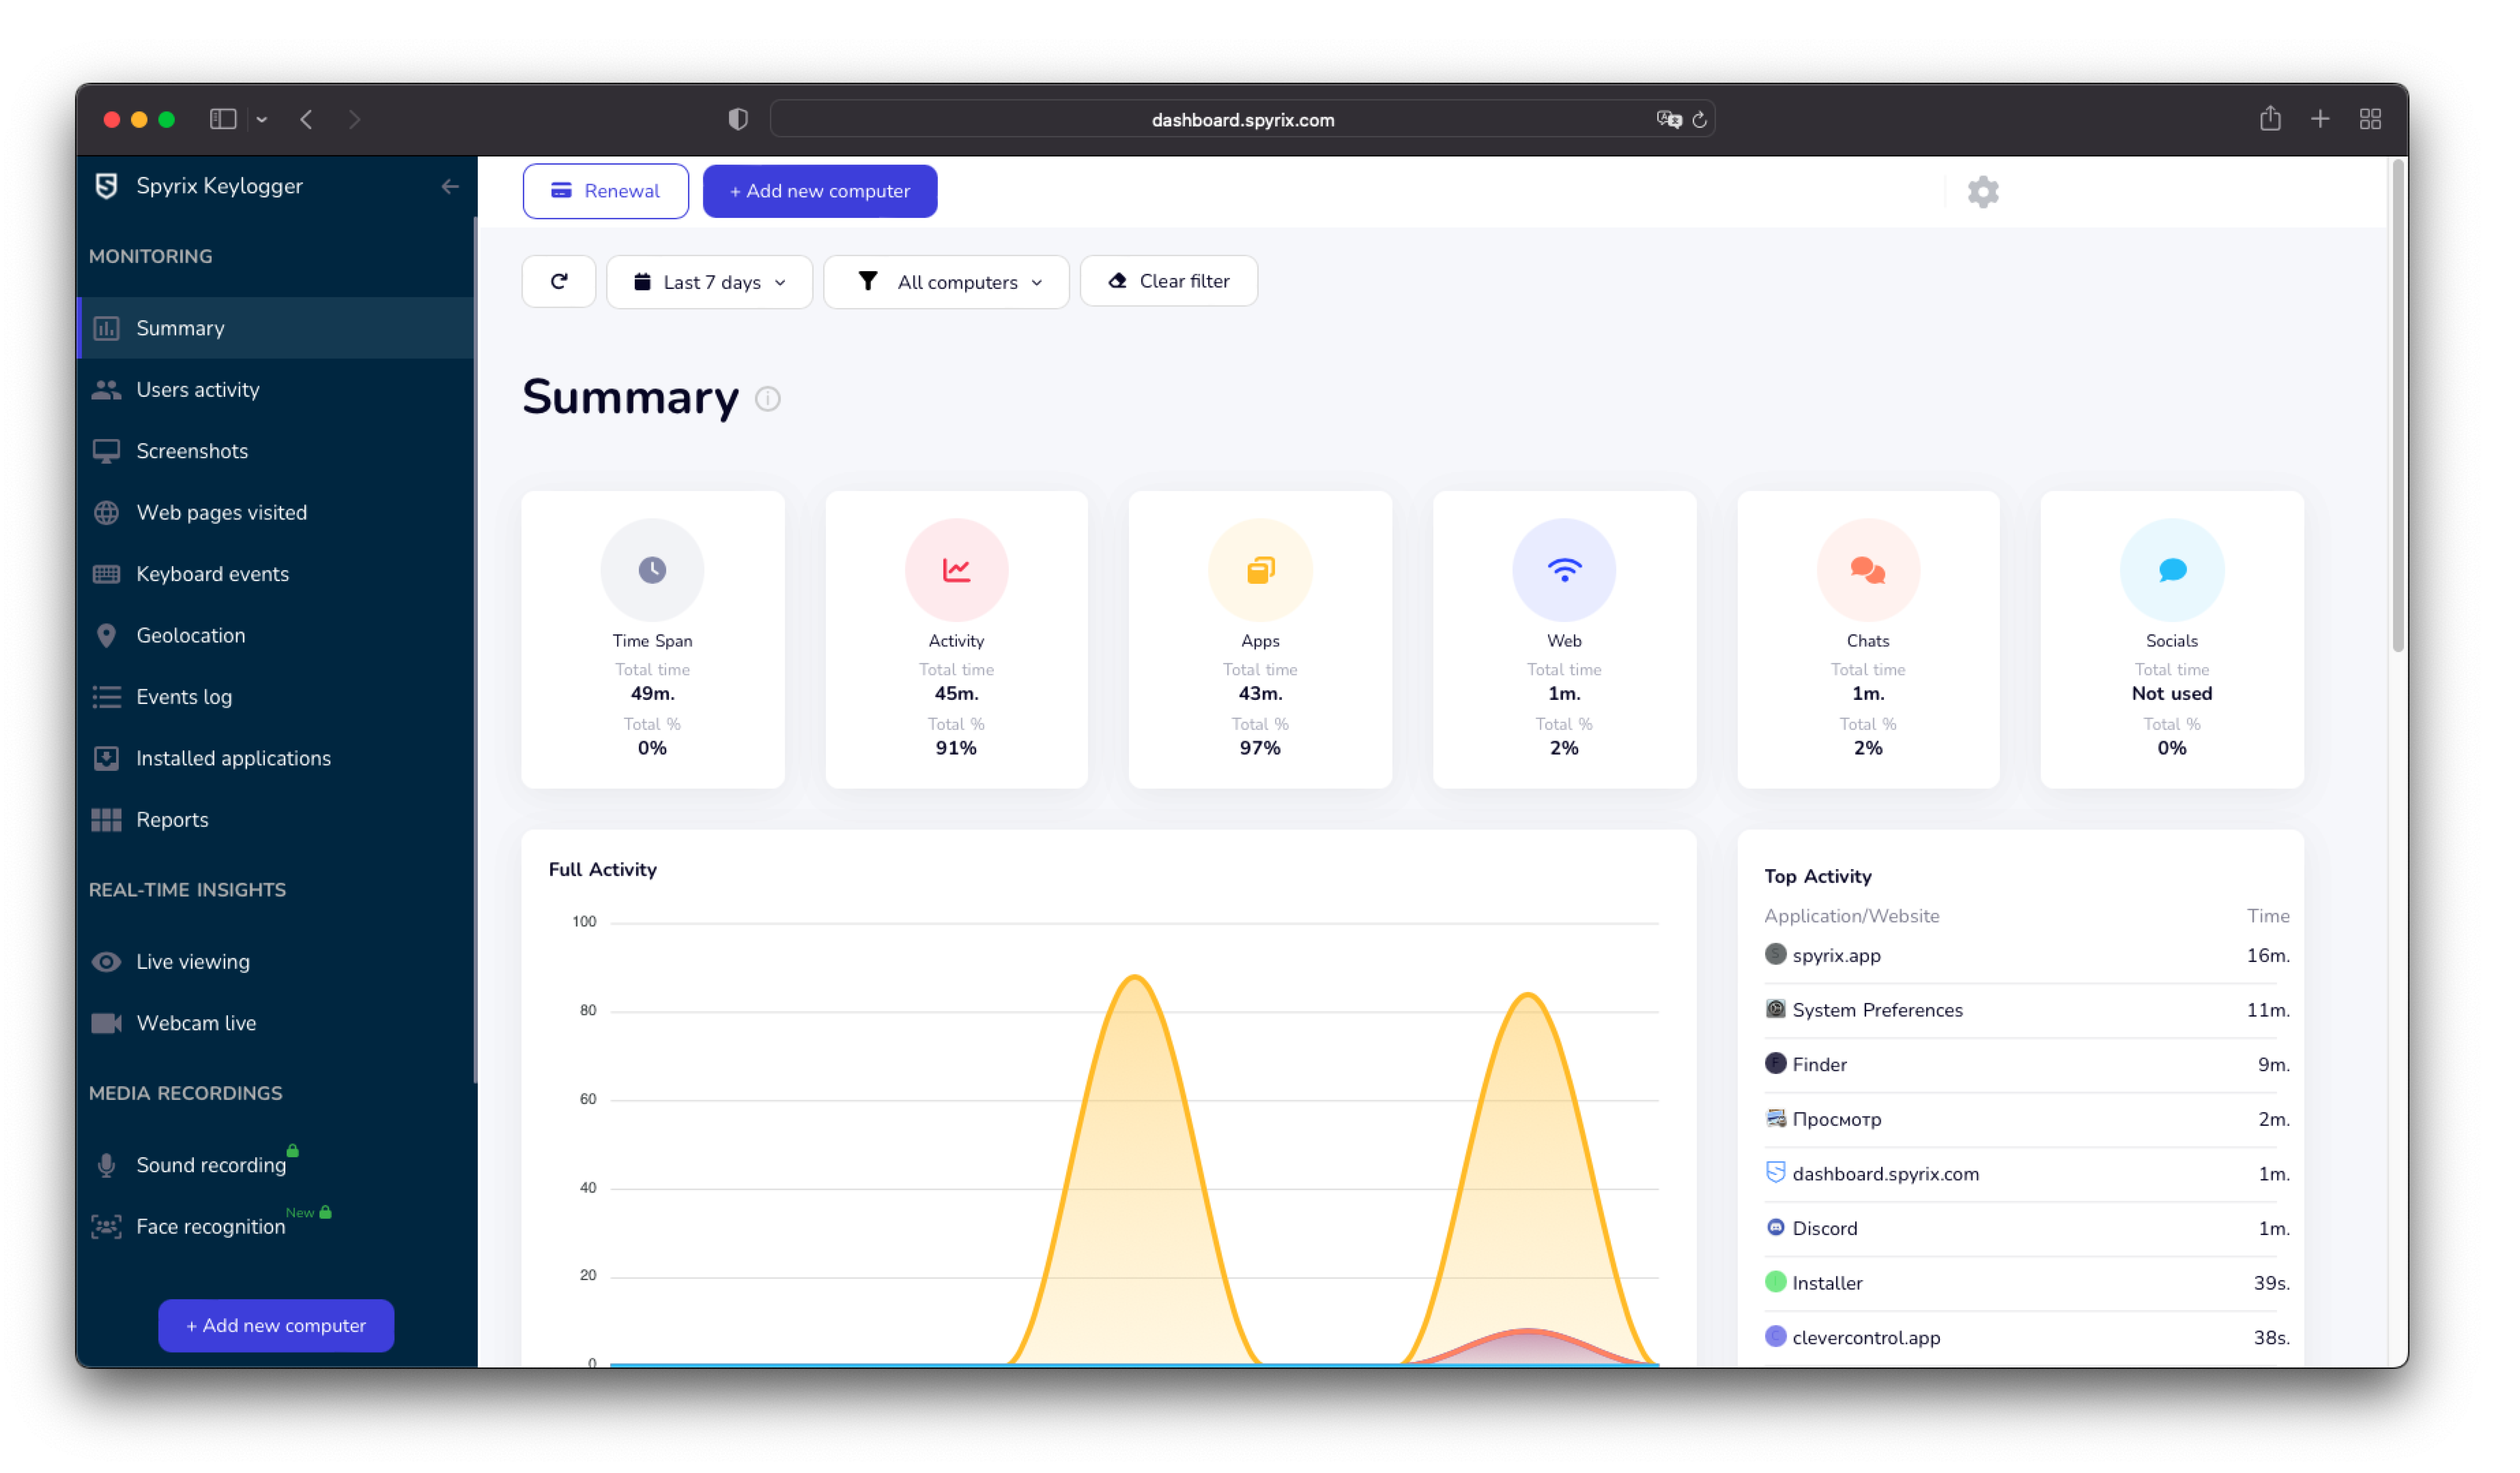
5.1 Envío de registros al cuadro de mandos en línea
1) Si no configuró la entrega de registros web en el Asistente de configuración, puede hacerlo más tarde en las preferencias del programa. Para configurar la entrega de registros web, debe registrar una cuenta Spyrix aquí: https://dashboard.spyrix.com/register. Debe escribir su correo electrónico, contraseña y hacer clic en "Registrarse".
A continuación, recibirá un correo electrónico de confirmación. Haga clic en el enlace del correo electrónico para confirmar su inscripción.
2) Abra el programa en el ordenador de destino y vaya a Preferencias > Entrega de registro > Entrega Web. Introduzca el correo electrónico asociado a su cuenta Spyrix y haga clic en el botón "Iniciar sesión".
3) Si ha hecho todo correctamente, verá este mensaje:
4) Pruebe la entrega del registro con el botón "Enviar el registro manualmente".
5) En unos instantes, verás aquí los primeros datos en tu cuenta: https://dashboard.spyrix.com/login. No olvides actualizar la página.
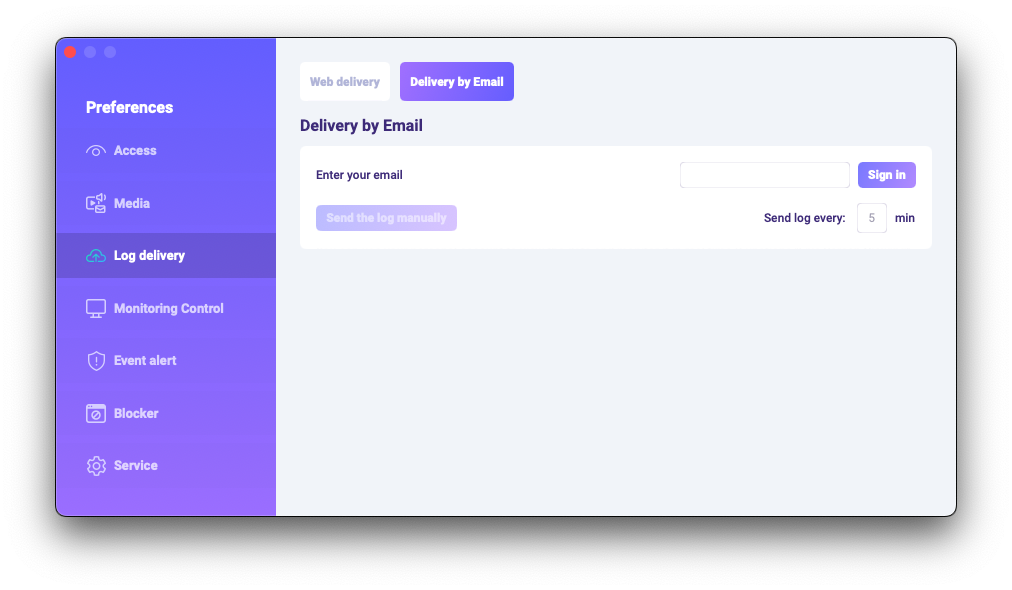
5.2 Envío de registros al correo electrónico
Puede configurar el envío de correo electrónico a través de Spyrix o de su servicio de correo.
1) Para configurar la entrega a través de Spyrix, vaya a Preferencias > Entrega Web > pestaña "Entrega por correo electrónico", introduzca su correo electrónico en el campo y haga clic en "Iniciar sesión". Tenga en cuenta que Spyrix no garantiza al 100% la entrega para este tipo de configuración.
2) Busque los correos electrónicos en su buzón (también en la carpeta Spam).
6. ¿Cómo desinstalar el programa?
Hay un par de formas de eliminar el programa del ordenador de destino:
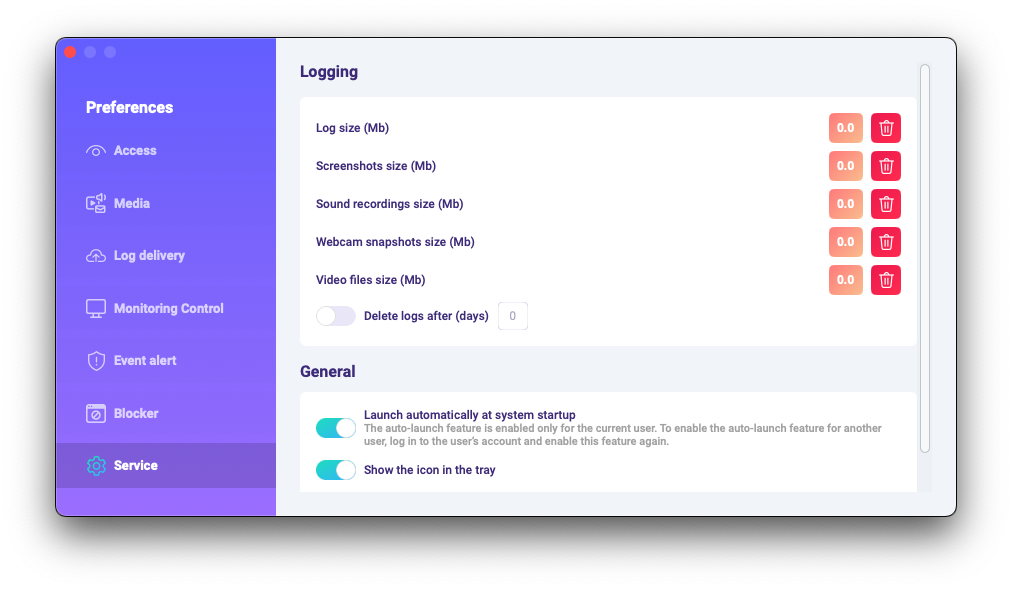
1) Puede desinstalar el programa a través de las preferencias. Para ello, siga los pasos que se indican a continuación:
- Abre el programa;
- Vaya a Preferencias -> Servicio;
- Haga clic en "Desinstalar programa".
2) Puede desinstalar el programa a través de las carpetas de programas. Para ello, siga los pasos que se indican a continuación:
-
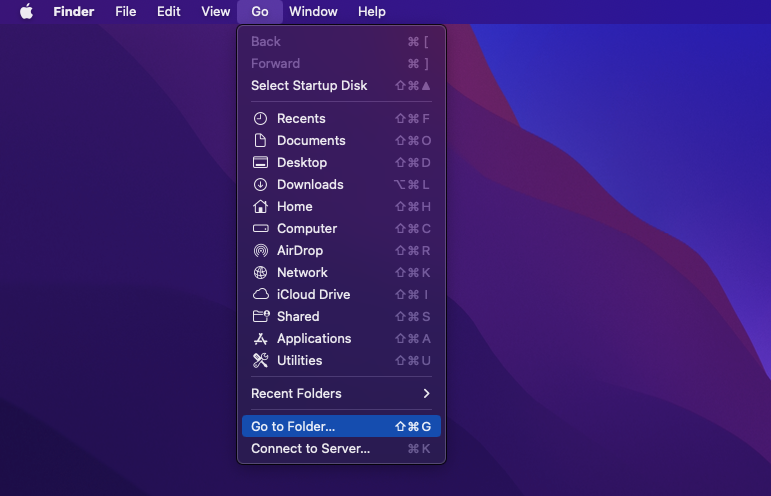
Vaya a la carpeta "Biblioteca" y elimine la carpeta "skm".
La carpeta "Biblioteca" está oculta por defecto. Para encontrarla, es necesario abrir en Finder (la pantalla del escritorio), haga clic en el menú "Ir", a continuación, seleccione "Ir a la carpeta"....
Aparece la ventana "Ir a la carpeta".
Escriba /Biblioteca y pulse el botón "Ir".
-
Vaya a la siguiente ruta Usuarios /Compartidos y elimine la carpeta "usr".
6. Preguntas frecuentes
-
¿Qué debo hacer si olvido la contraseña para iniciar sesión en el programa en el dispositivo de destino?
La contraseña para acceder al programa se establece durante la instalación. Si ha olvidado la contraseña, debe reinstalar el programa para cambiarla.
-
¿Cómo ocultar el icono del programa de la barra de menús?
Abra Preferencias > Servicio y desactive la función "Mostrar el icono en la bandeja".
-
¿Cómo abrir un programa en modo oculto?
Las teclas de acceso rápido para abrir el programa son Opt+Cmd+S (por defecto), en caso de que no hayas elegido una combinación diferente tras la instalación.
Si las teclas de acceso rápido no funcionan, ve a la carpeta de programas /Library/skm/Spyrix.app e intenta iniciar la aplicación de nuevo.
-
¿Cómo configurar el programa para que se inicie automáticamente tras el arranque del sistema?
Por favor, abra el programa > vaya a Preferencias > Servicio > asegúrese de que la casilla "Ejecutar automáticamente al inicio del sistema" está marcada.