
Spyrix Guide for Windows
How to Install Spyrix Software for Windows
Temporarily disable antivirus
Temporarily disable any antivirus software installed on the computer.
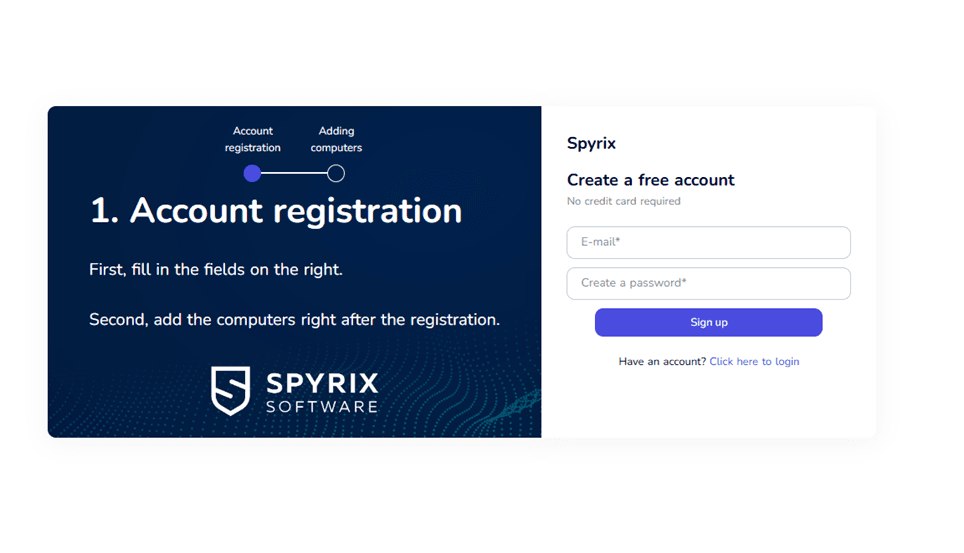
Click "Sign Up"
Click one of the "Sign Up" buttons to create an account.

Enter email and password
Enter your email address, create a password, and click "Sign Up" to complete the registration.
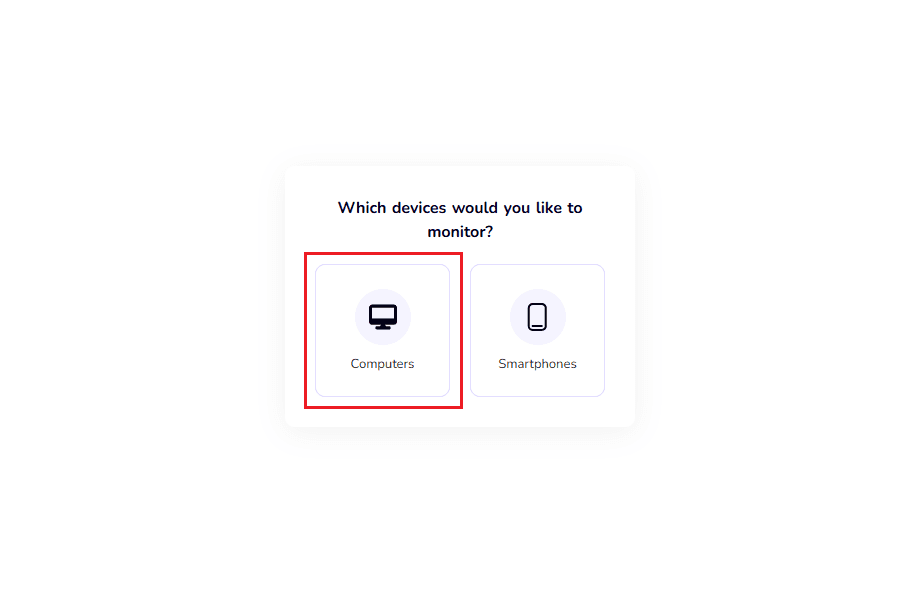
Select "Computers"
Select "Computers" to continue setting up monitoring for a Windows PC.
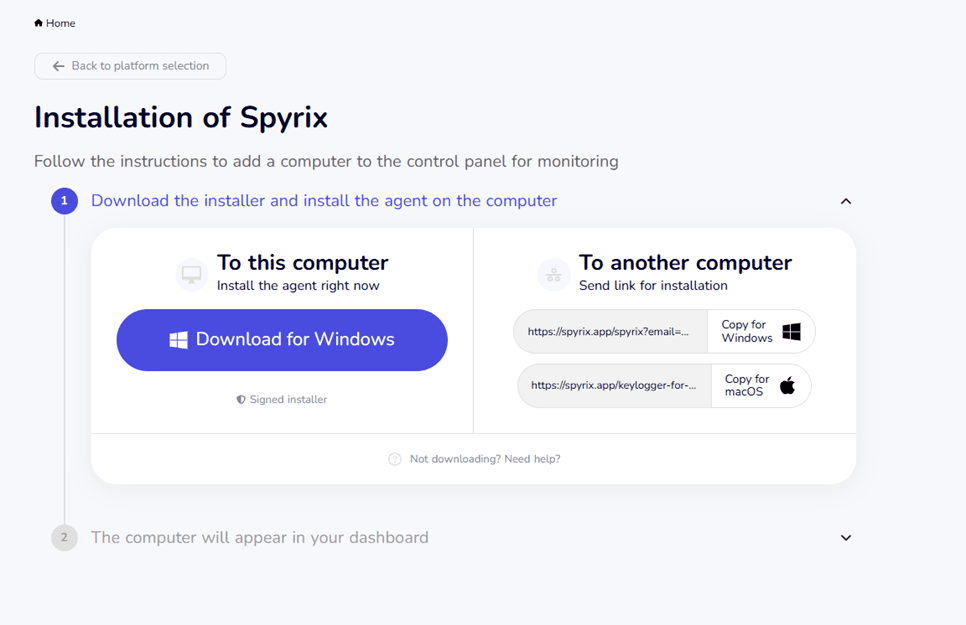
Download for Windows
Click "Download for Windows" to download the installer to the computer.
Run the installer
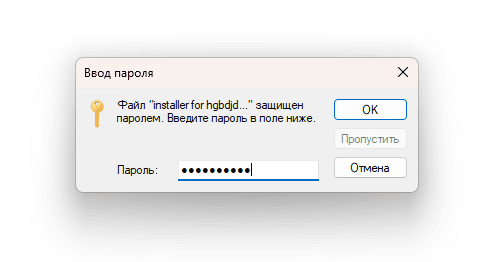
Run the downloaded Spyrix installer on the computer. When prompted, paste the provided password, click "OK," and follow the on-screen instructions.
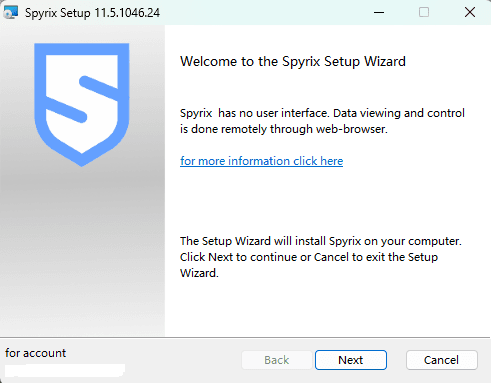
Start installation
Click "Next" to begin the Spyrix installation.
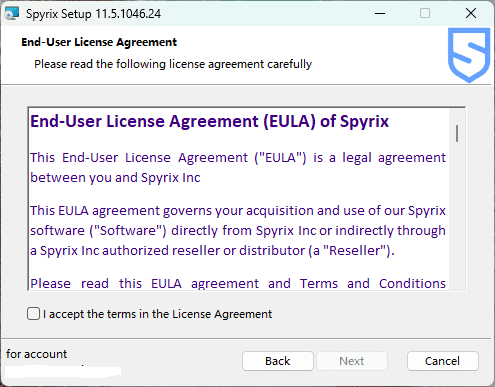
Accept the License Agreement
Review the License Agreement, select "I accept the terms in the License Agreement," and click "Next."
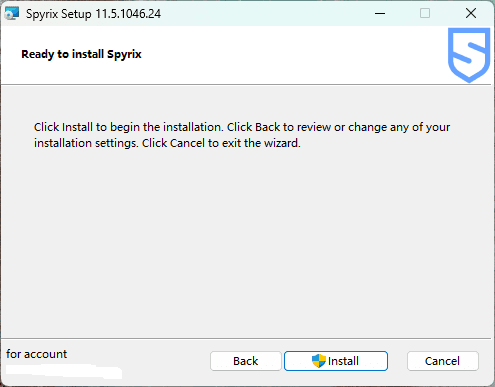
Install Spyrix
Click "Install" to begin installing Spyrix.
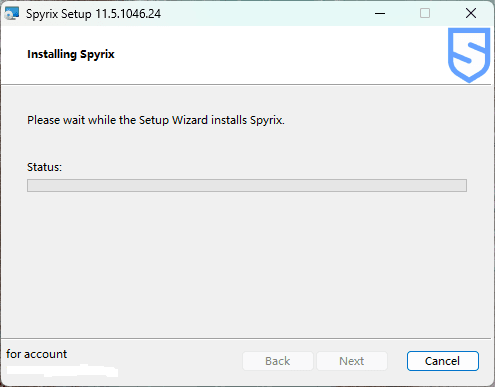
Wait for Setup Wizard
Wait while the Setup Wizard installs Spyrix.
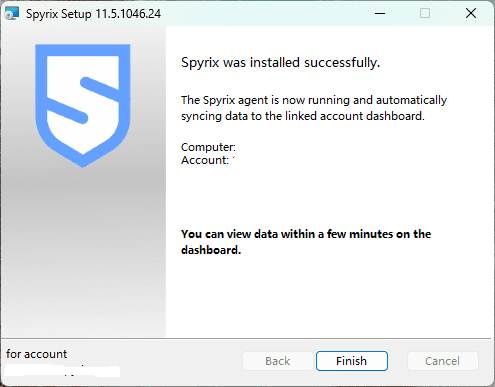
Finish installation
Click "Finish" to complete the installation; Spyrix will start running and syncing data to your account automatically.
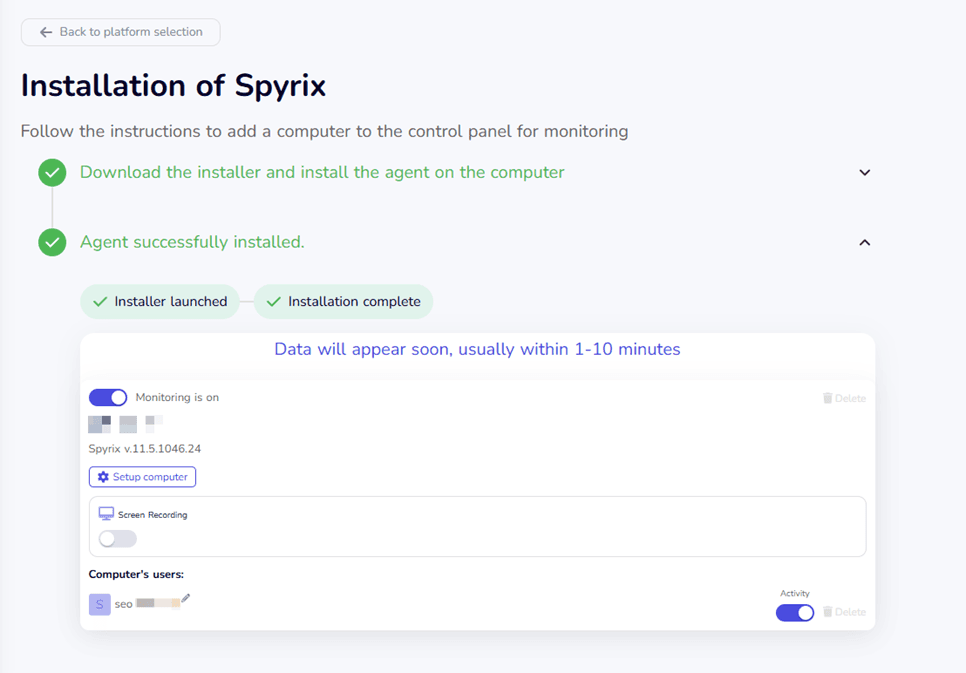
Open the dashboard
After you click "Finish," you will be redirected to the dashboard, where data from the monitored computer will begin appearing within 1-10 minutes.
Uninstallation Guide
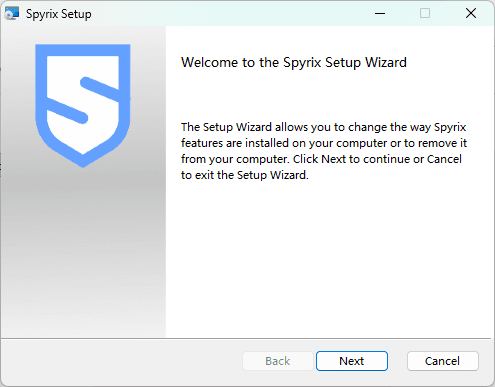
Run the installer again
To begin uninstalling Spyrix, run the installer file and click "Next."
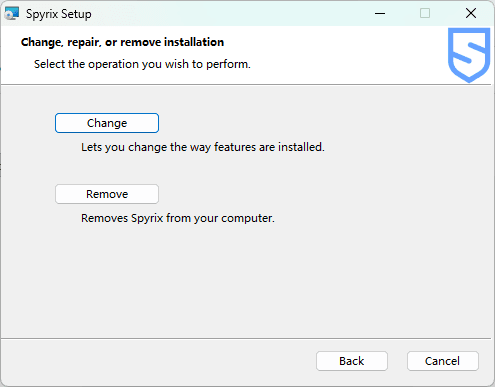
Choose Remove
Click "Remove" to uninstall Spyrix from the computer. Alternatively, click "Change" to modify the installed features.
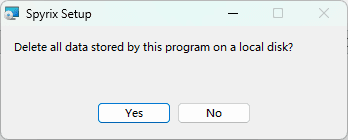
Delete local data
Click "Yes" to delete all Spyrix data stored on the computer.
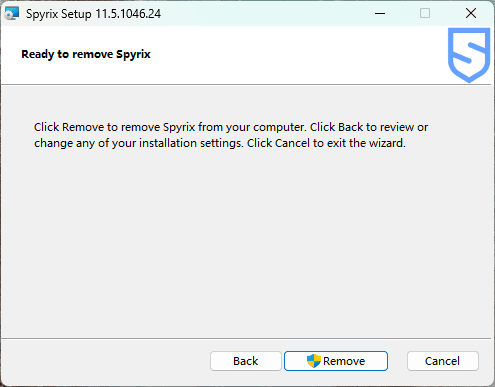
Confirm removal
Click "Remove" to begin uninstalling Spyrix. If prompted by Windows, confirm the action.
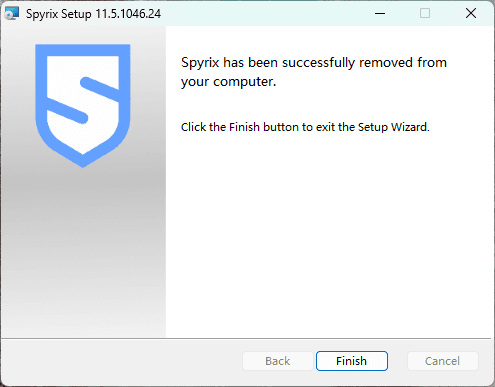
Complete uninstall
Click "Finish" to close the Setup Wizard. Spyrix has been successfully removed from the computer.